2018 Cardboard Boat Build. Here is a EZ boat to build. YET I OVER BUILT
IT! I have 37 hours in three weeks
into it as it sits right now. Group work on these 2 boats 6 hours. Spent a lot of extra time this year
waterproofing and sealing the cardboard flutes. Anything that
stays in the water is getting extra treatment. Building in Ballast
Boxes in the Ribs and on the sides as well. Waterproofed all sides of the
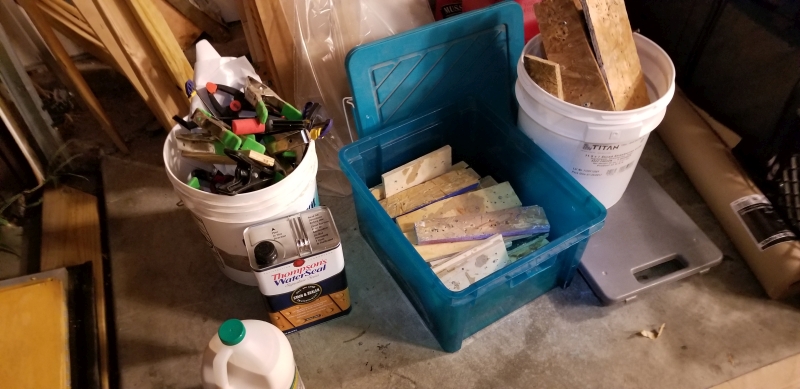
cardboard as well. Using Thompson Water Seal Honey to do the
waterproofing. It dries quickly and allows titebond III wood glue to adhere to
it. Also using Carton Tape that you wet with a damp cloth. Going
back to some things I used to do. This build has me using several pieces
of cardboard to get the top and bottoms. I got a HVLP sprayer that will
spray latex paints. It's fast when comes time to put a waterproof coat on.
Click on a picture for a larger view. Lots of Boat Plans at
http://readyrangers.tzo.com/
Great Video on building
cardboard boats.
09-10-2018
Cardboard Boat Regatta
|
|
|
|
Wow what a boat. Everything done right!
|
|
|
5 tubes of Liquid nails at 1.78 each 9.00 , 1.5 Gallon of Thompsons Water
Seal 40.00 , 2 Gal of Titebond III Wood Glue 54.000, 1 roll of 3' wide
contractor paper 14.00. 1 Roll of Self Gluing Packing wet paper Tape 8.80
= 117.00.00 add paint and more it's 150.00 but I have materials left over.
Just
like the 4th of July... a lot of money goes up or down in just a few minutes.
Yet the value is worth it. Let's celebrate big time.
Mark Jones Hey I added a New
plan called Discovery Tug Two. It is designed to build in 3 hours or less.
Start to finish.
Here is the
Rules and the plan is at the last of the information.
If you need some cardboard for your boat holler. I have plenty available.
Get enough to work over as well as build your boat. Will add this tidbit.
Working with waterbased paints and glues and caulks is way better then using
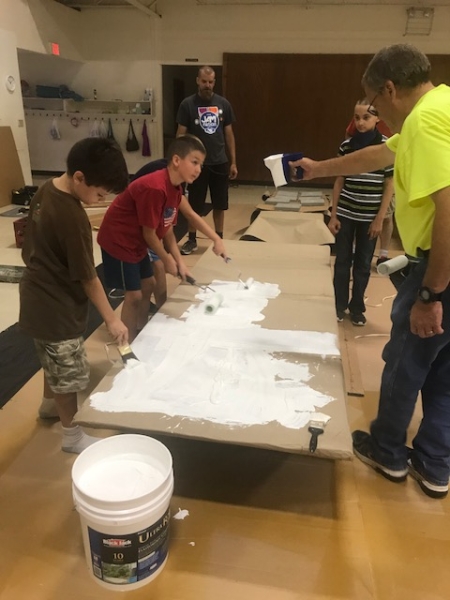
stuff that needs mineral spirits to cleanup. When the boys paint have them
wash off right after they paint. Old Clothes are recommend yet they forget
about it. So remind them. Enjoyed this build. I did it in my
garage so that enabled me to put a lot of extra work on it. Everything is
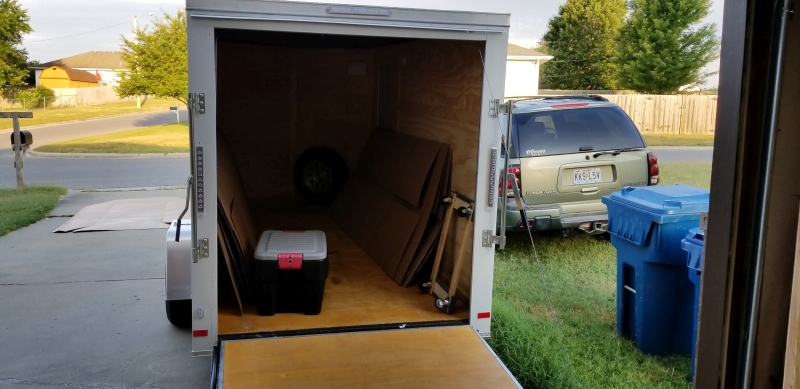
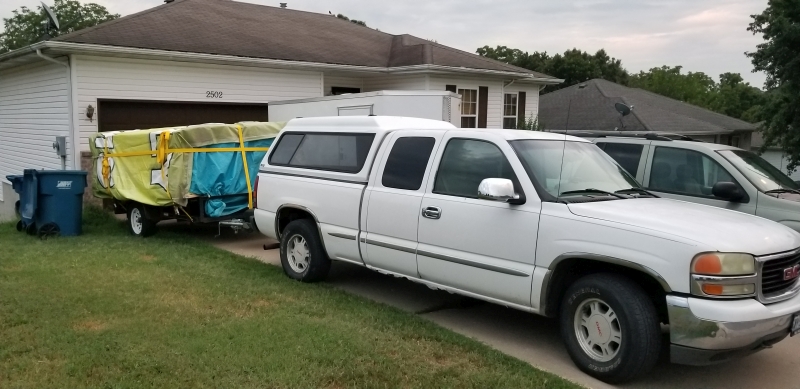
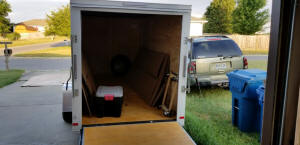
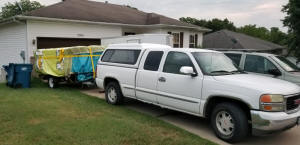
loaded up in the Cargo Trailer ready to head down for the Big race.
|
|

|
|
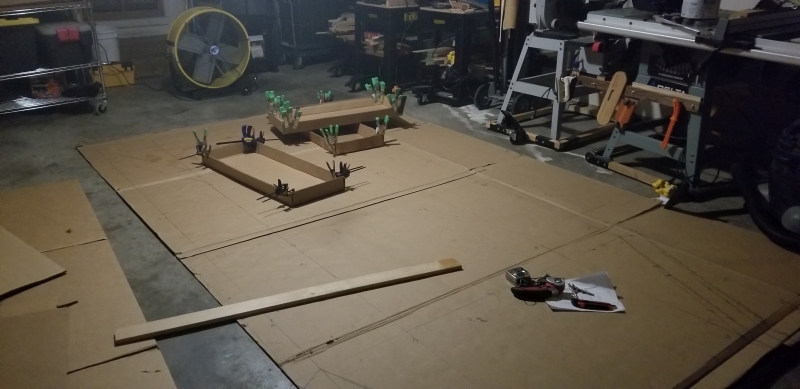
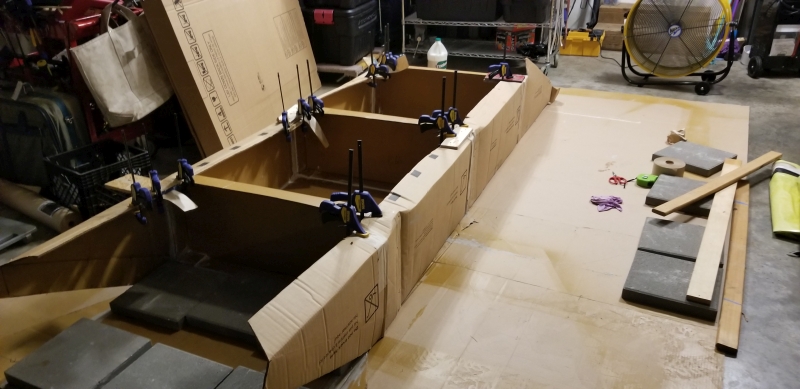
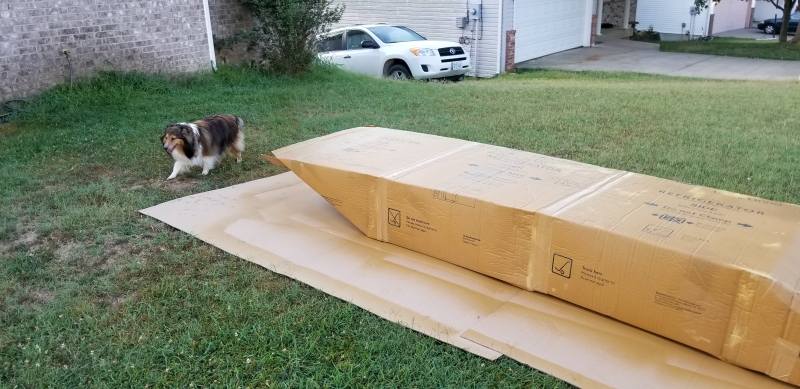
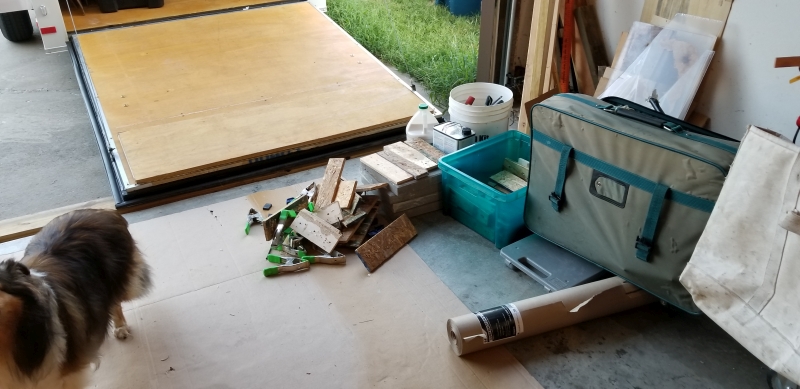
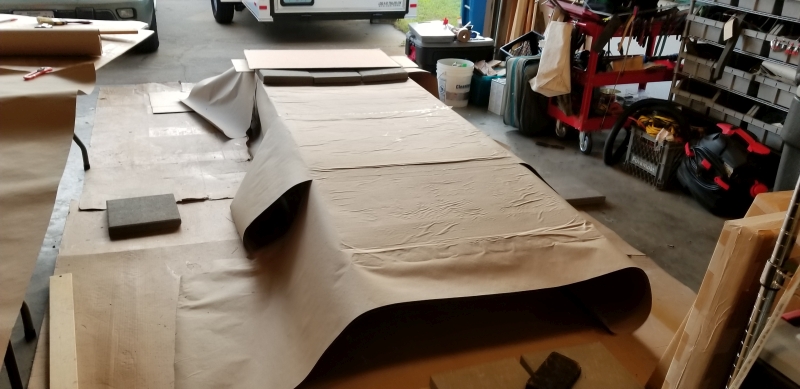
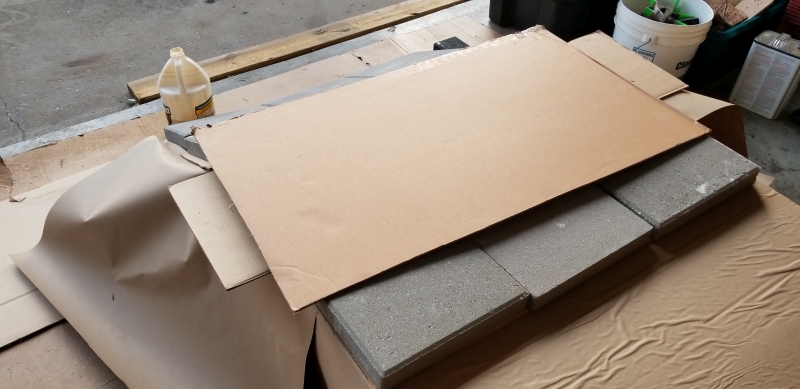
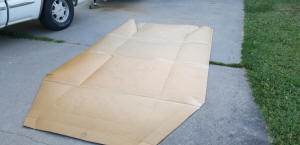
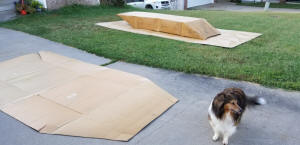
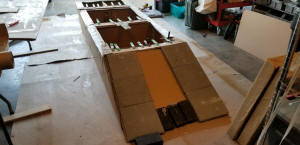
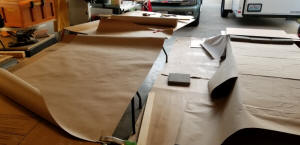
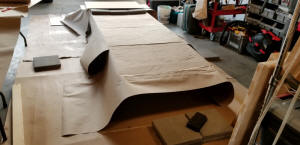
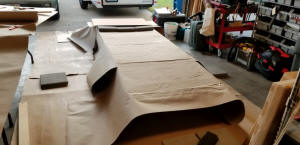
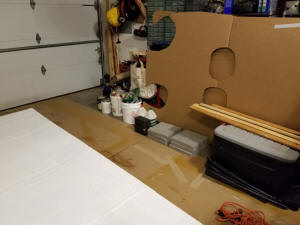
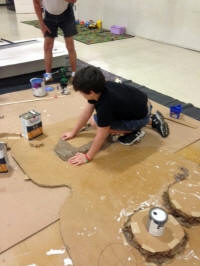
Lay out scrap cardboard to work off of and pad your knees and feet
|
|
|
|
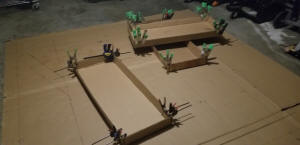
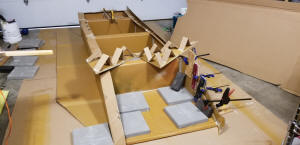
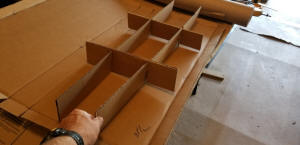
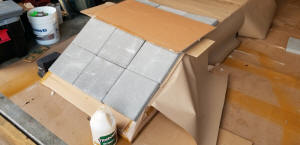
First set of Ribs all have been waterproofed. Next build I will make all Ribs Ballast Boxes.
|
|
|
|
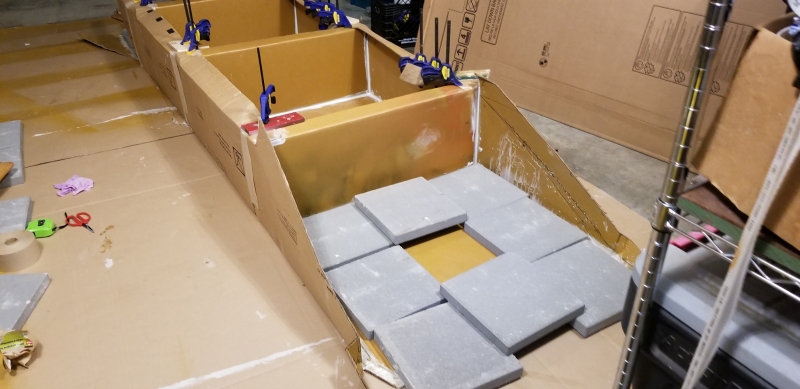
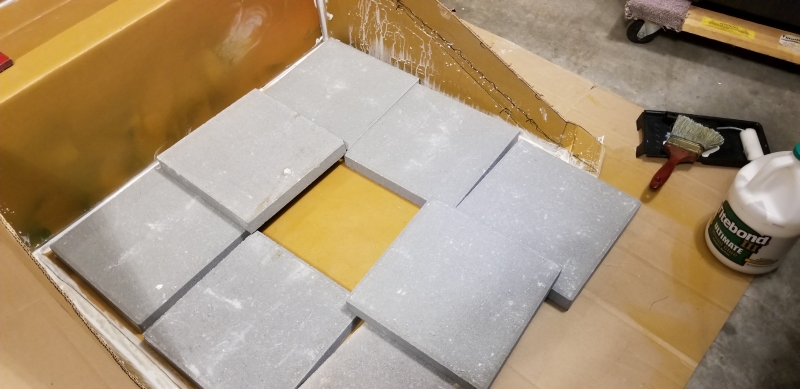
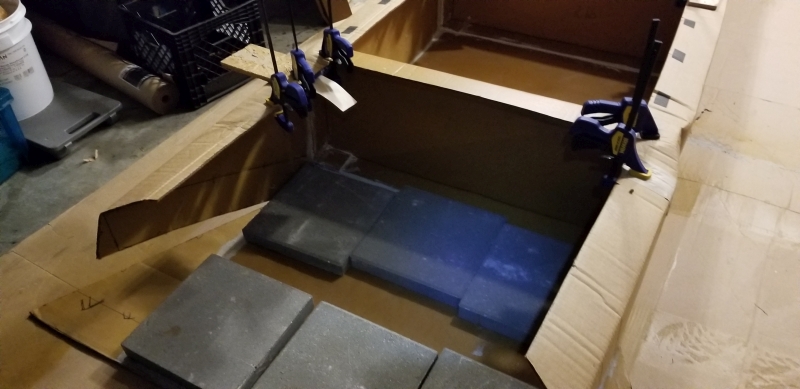
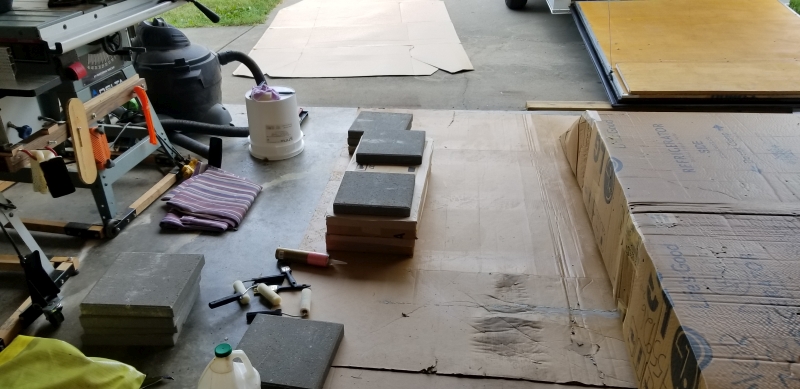
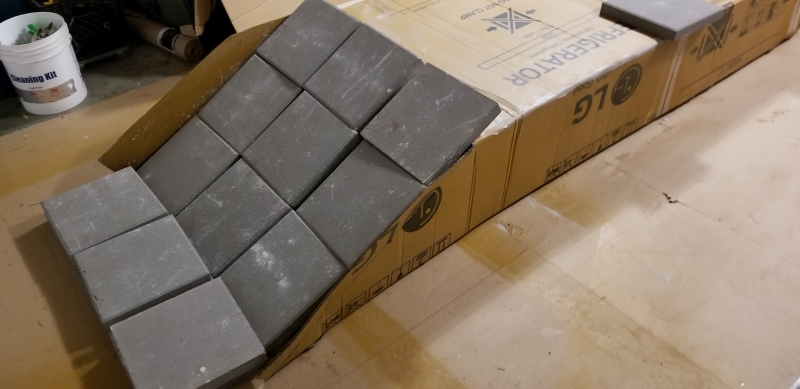
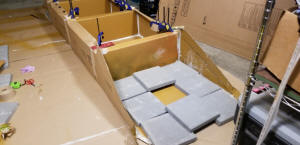
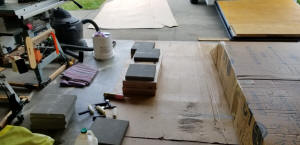
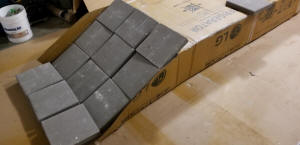
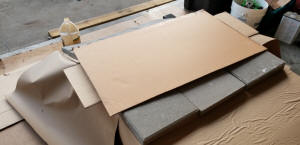
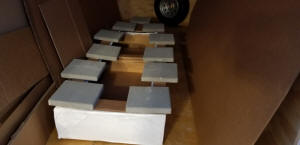
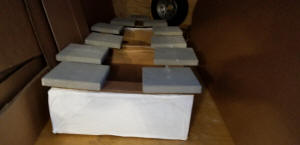
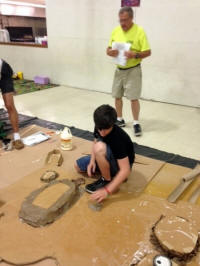
Using Concrete Pavers to face glue. Makes a strong joint. This is the best idea I have had in a while.
|
|
|
|

|
|
Lowes Pavers cost about 1.78 each I got 18 of them.
|
|
|
|
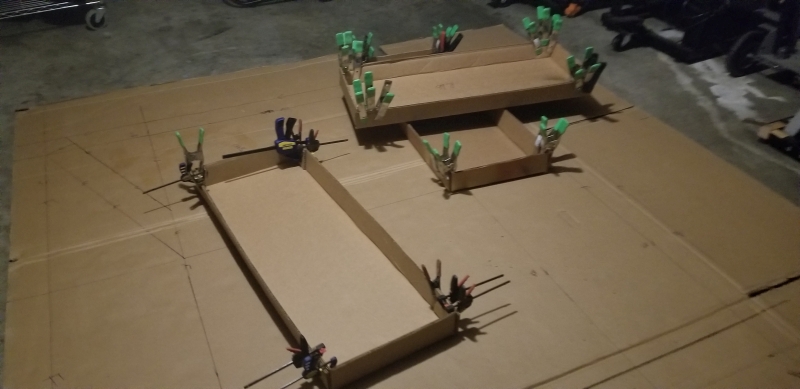
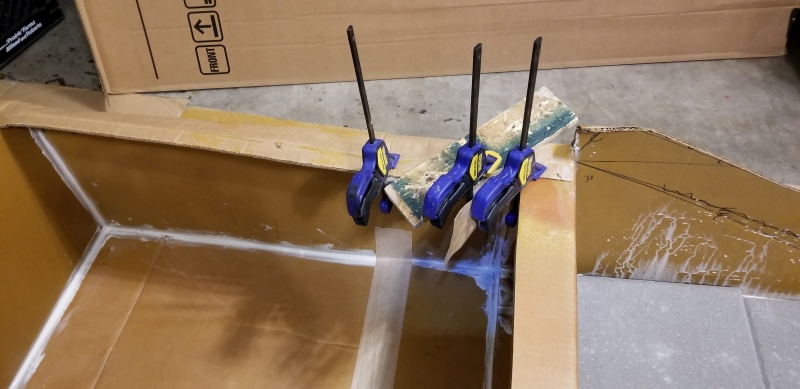
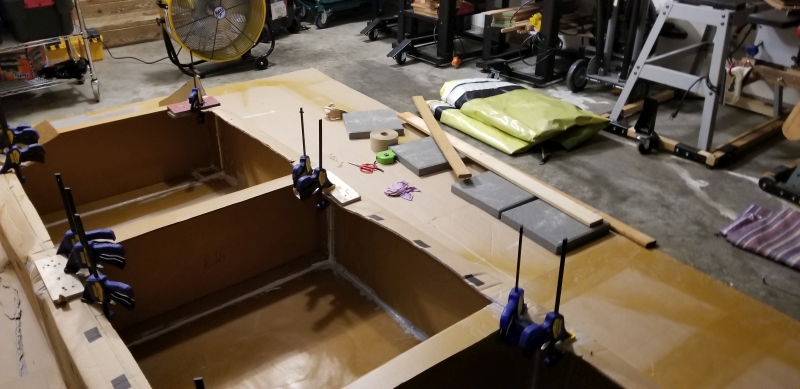
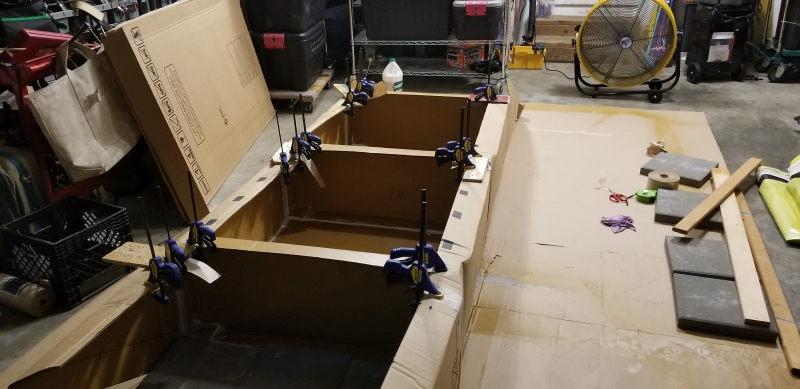
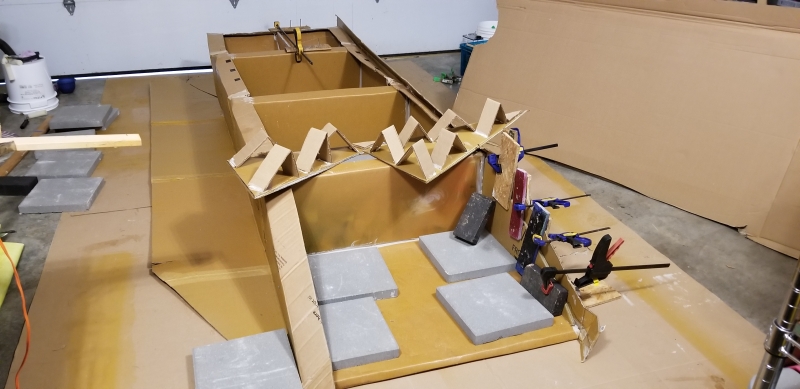
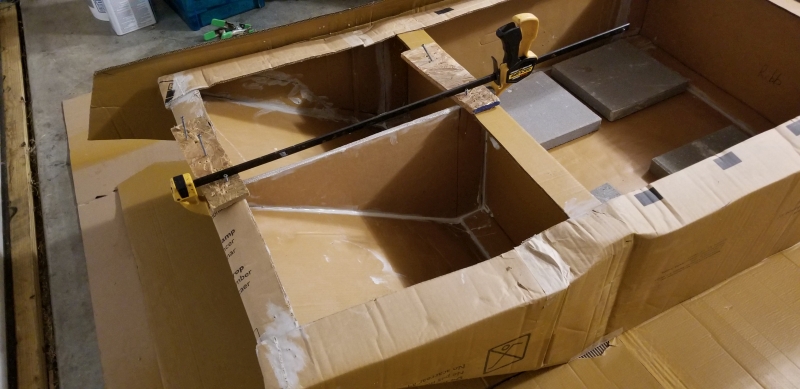
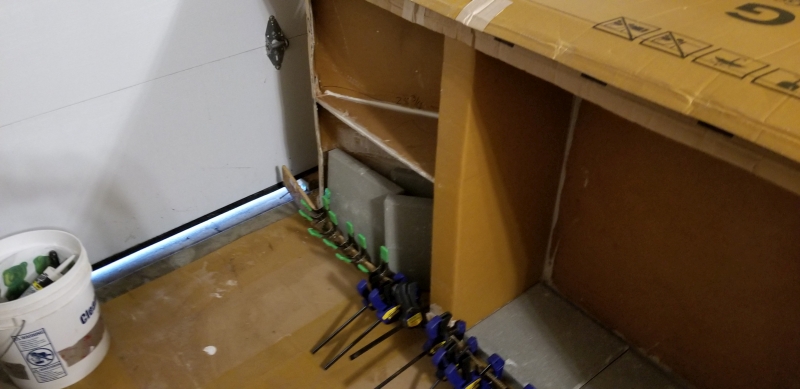
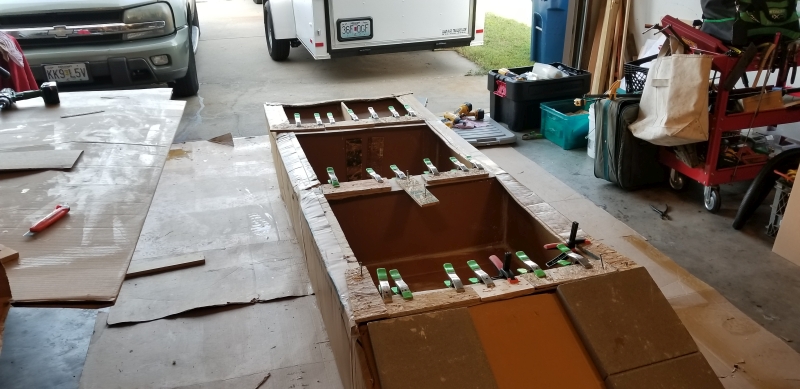
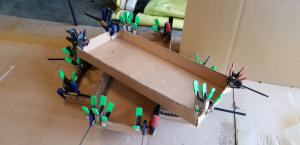
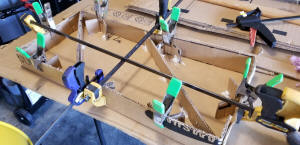
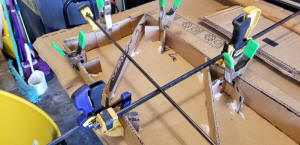
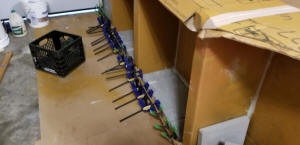
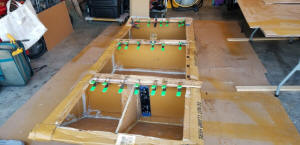
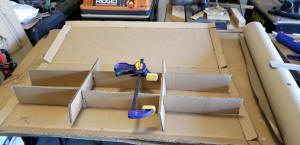
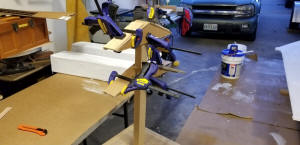
Gluing in ribs using various clamps and wooded blocks
|
|

|
|
Lots of clamps come in handy. Buy a few each year and you will have plenty after a while.
|
|
|
|
|
|

|
|
Titebond III is the best glue. Don't thin it while assemblying but on face glueing you can 10%
|
|
|
|
|
|
Buckets of Clamps and Clamp Blocks using Deck Screws wtih 2 threads and sandwhich the cardboard in between those two boards.
|
|
|

|
|
Did I mention it was 1:30 in the morning....much cooler to work on boats in the garage.
|
|
|
|
|
|
|
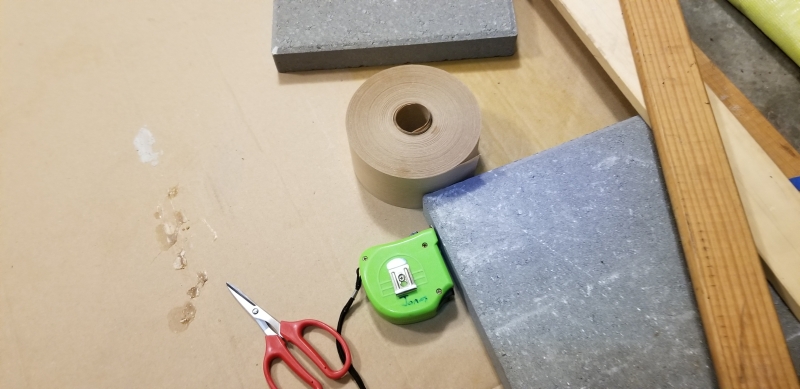
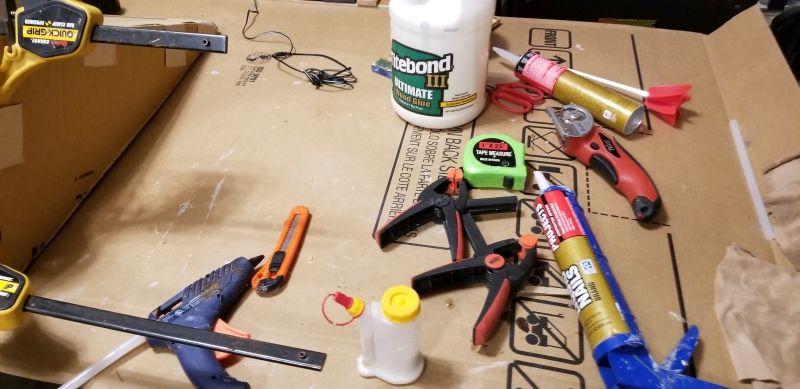
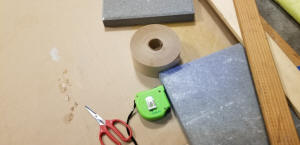
Packing Tape and tape measure and sissors. Packing tape works great. I had forgotten how well it holds.
|
|
|
|
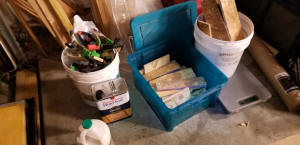
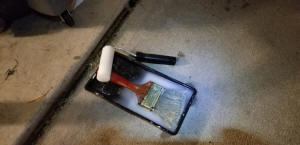
Keep your Brushes in Water or they will be ruined.
|
|
|
|
|
|
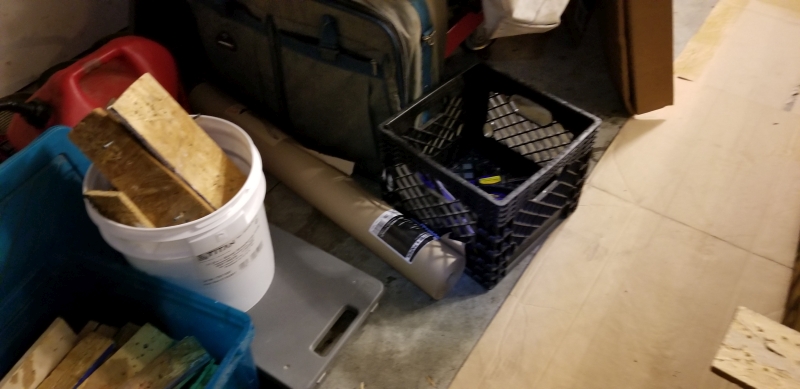
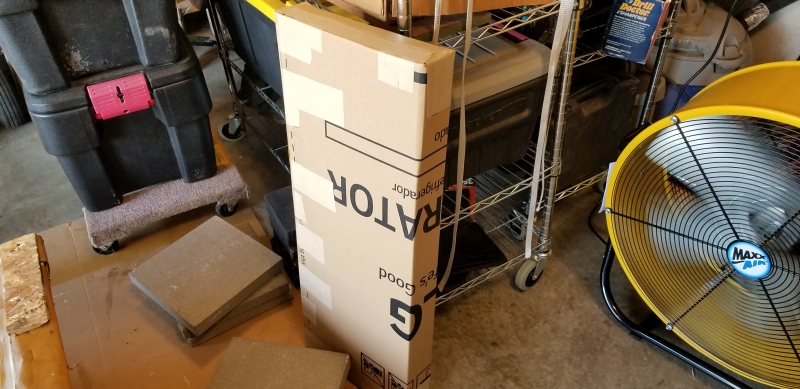
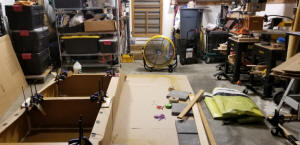
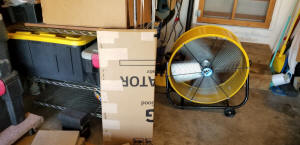
Always keep things off the floor to avoid Trips and slips.
|
|
|
|
Tool happy.
|
|
|
|
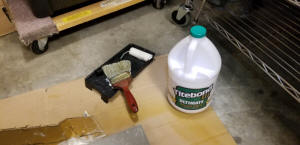
I will often just leave these brushes and rollers in water to soak between building sessions.
|
|
|
|
|
|
Spraying Waterproofer out front.
|
|
|
|
Use something under the boat to catch the over spray.
|
|

|
|
Rose
|
|
|
|
|
|
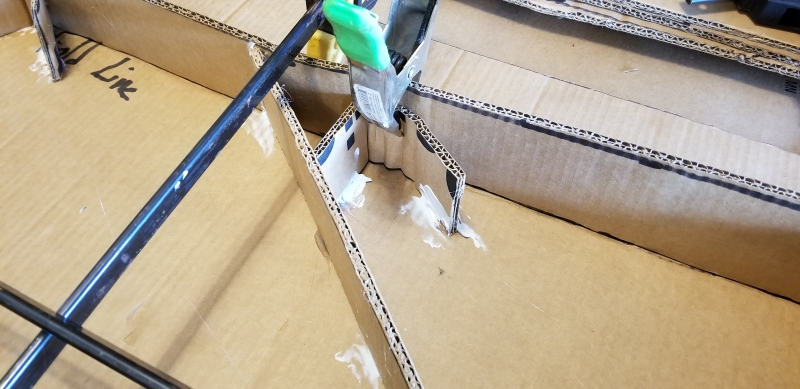
Put some packing tape reinforecement over duck tape. Staples has rolls. Office Depot none.
|
|
|
|
Duck Tape started to Shrink up when I sprayed water proofing on it. Pulled it off and used water packing tape.
|
|
|
|
|
|
|
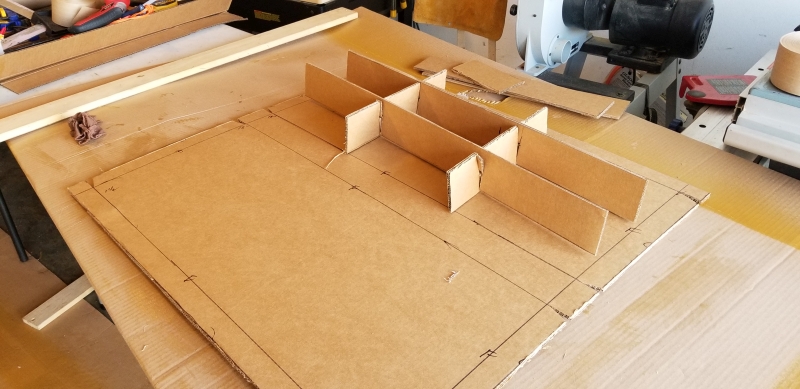
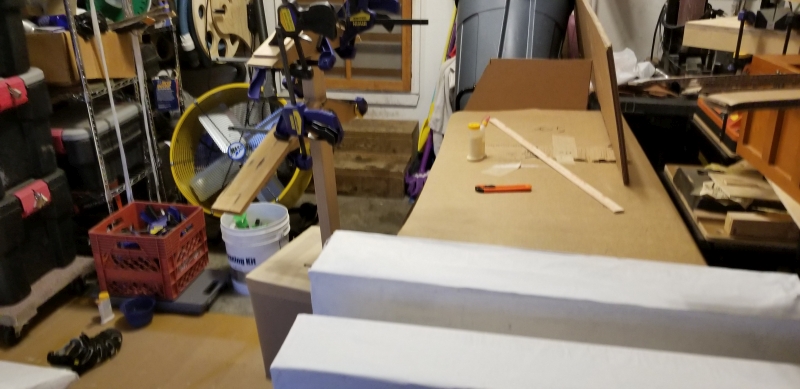
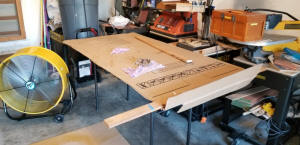
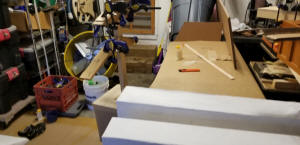
A small table for cutting and gluing up Ribs is wonderful.
|
|

|
|
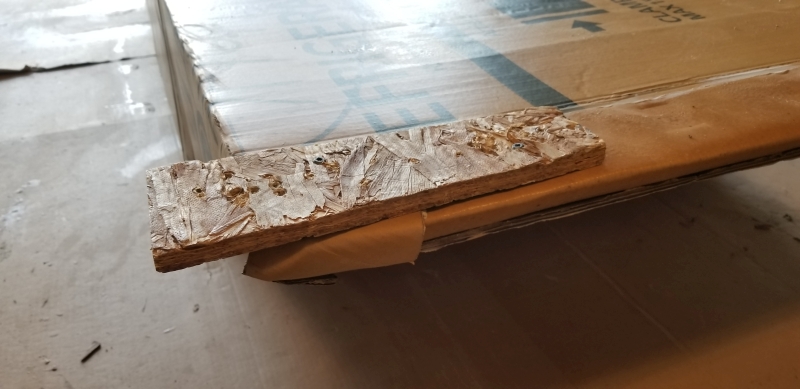
Laminating layers for parts the boys will walk on
|
|
|
|
|
|
|
Trailer is handy for storage. I load this all up and bring to church for the boys to participate in.
|
|
|
|
|
Spring clamps are wonderful.
|
|
|
|
|
|
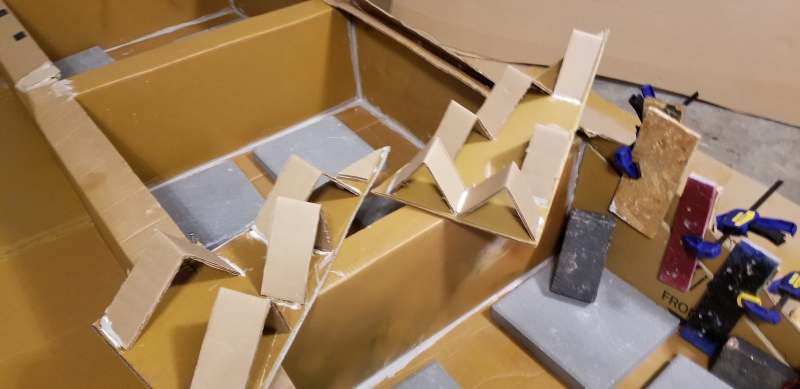
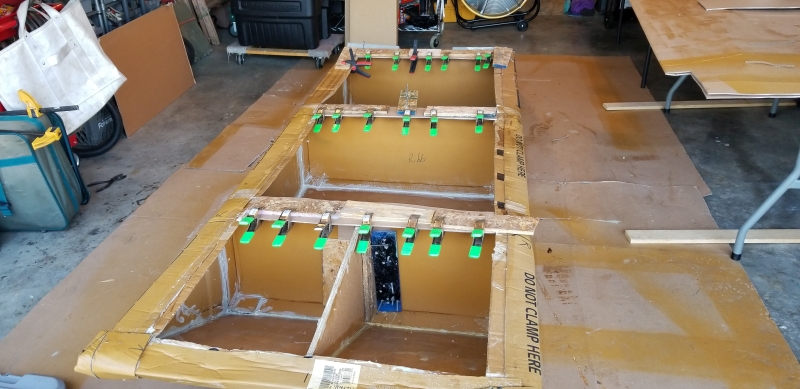
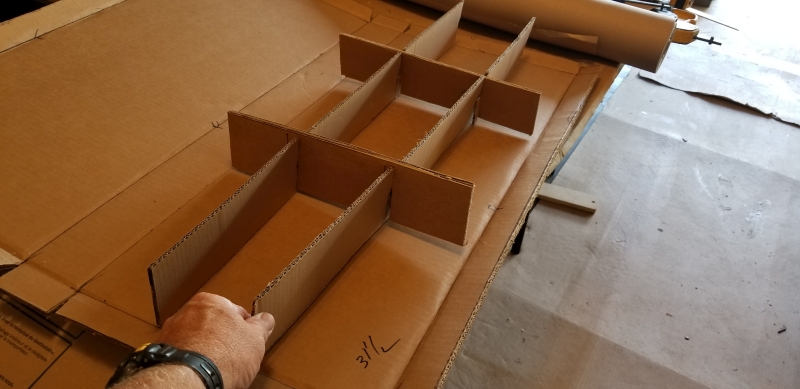
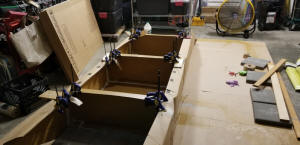
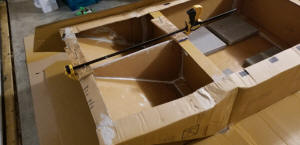
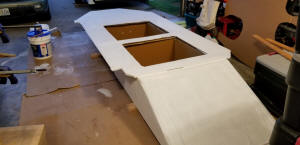
Inner Ballist Boxes with internal supports for rigided..over kill.
|
|
|
|
|
Wrapped the seams with Sealing Tape
|
|
|
|

|
|
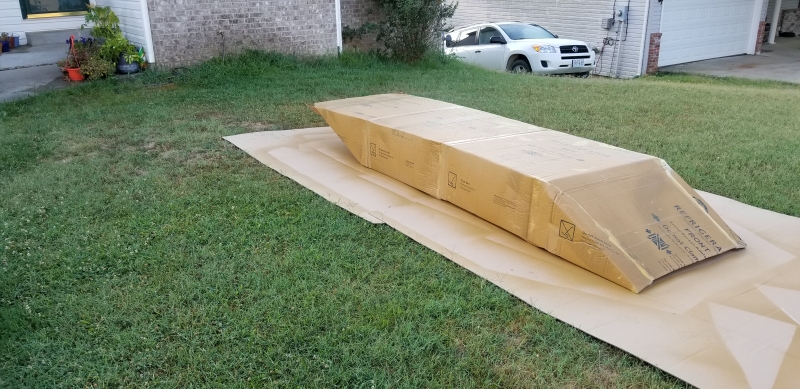
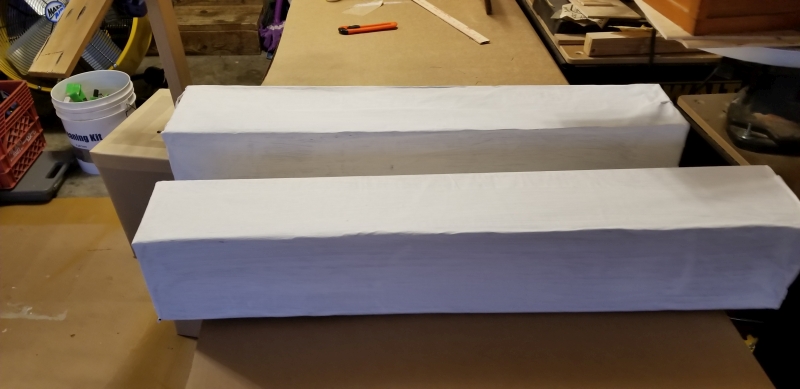
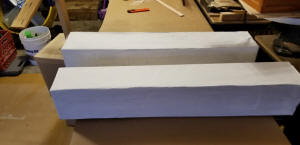
These will get waterproofed and covered in brown contractor paper.
|
|
|
|
Always cleaning
|
|
|
|
Leting it dry to get it to firm up. Takes a day to get it solid. Time to meet the family for Red Lobster! YUM.
|
|
|
|
|
|
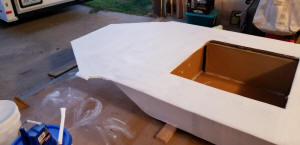
Back Section boys can climb up it to get back into the boat.
|
|
|
|
|
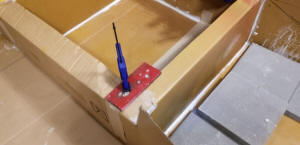
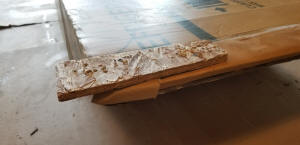
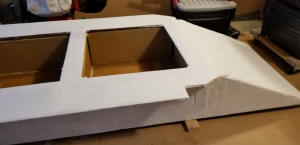
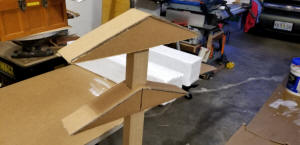
Front of Boat with center support
|
|
|
|
|
|
|
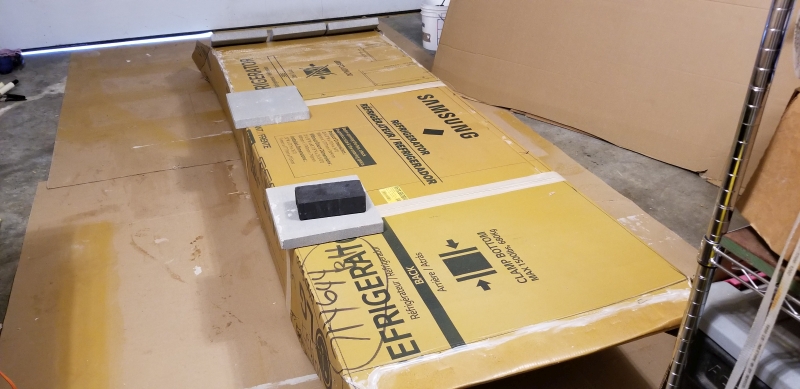
Gluing top deck 3" and using the 12x12 concrete pavers to glue the sidewalls VERY IMPORTANT
|
|
|
|
|
|
|
|
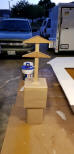
Weighting down the front Keel of the boat. Block on the ground keep the boat from sliding and blocks from sliding.
|
|
|
|
|

|
|
Back part the boys climb over will be wraped in paper sealed and put in the back wedge of the boat for support of the deck the boys climb and floats.
|
|
|
|
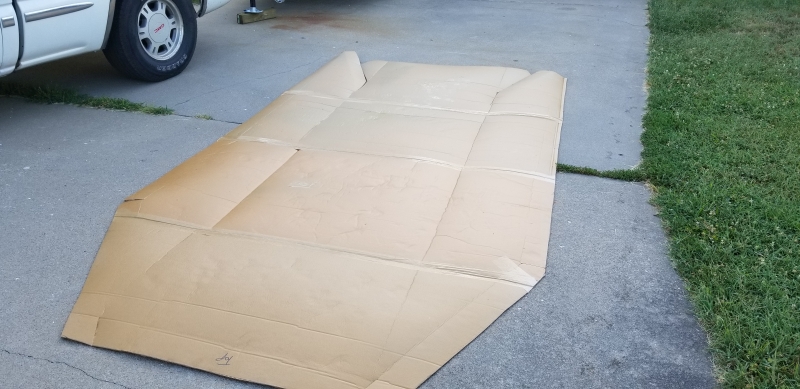
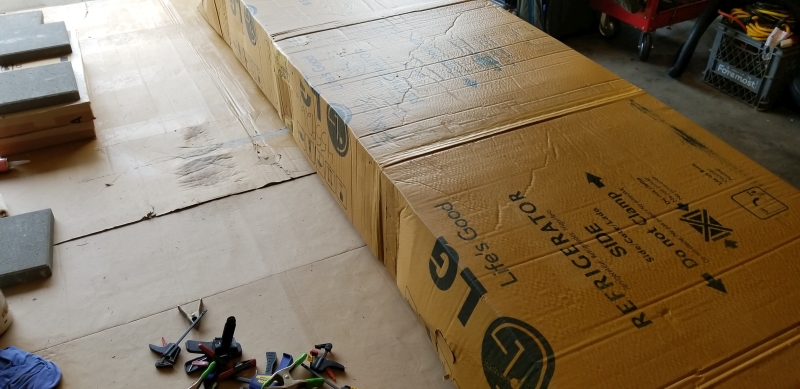
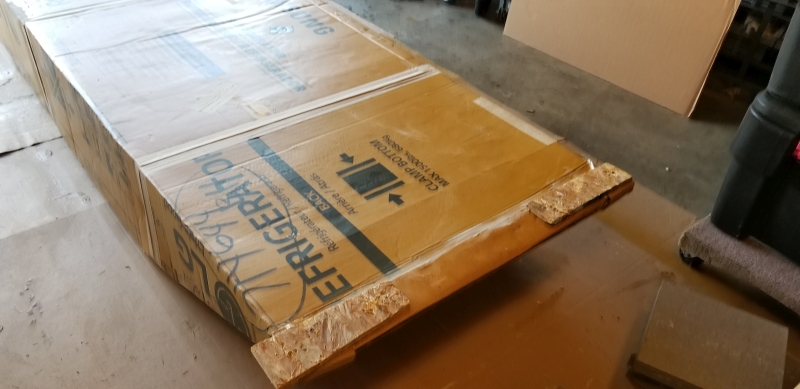
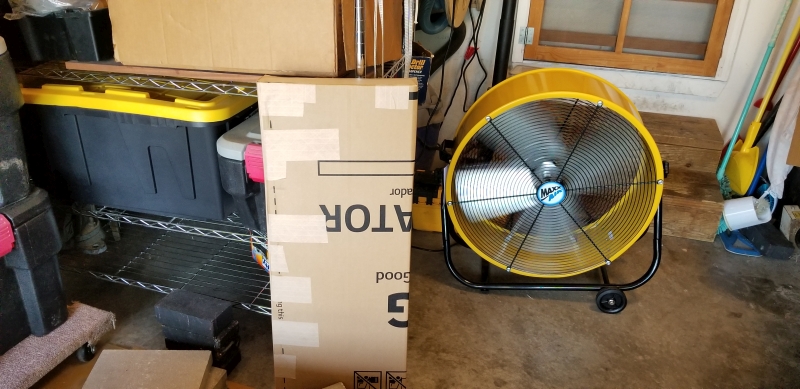
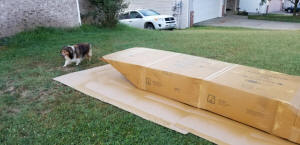
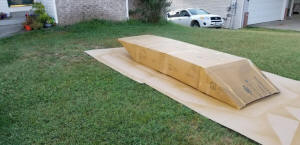
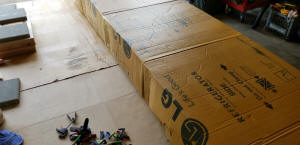
Click on a picture for a larger view. Going to Pickup a 36" stack of
double layer cardboard 7'6" wide by 10" long.
|
|

|
|
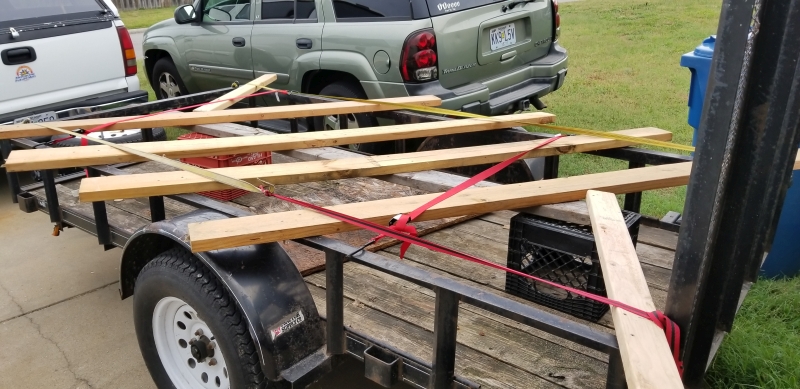
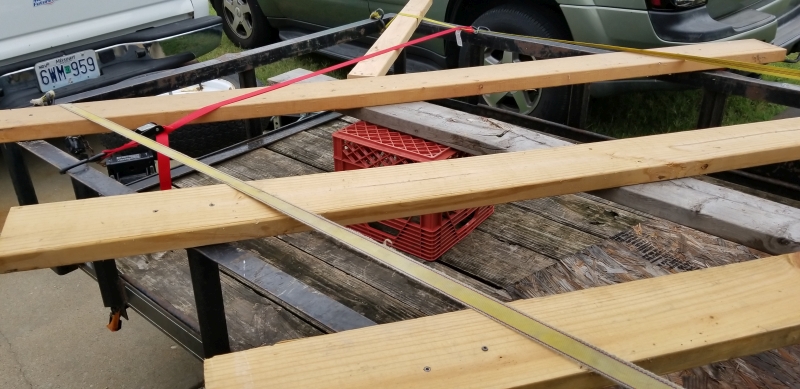
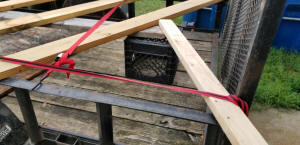
Used 2 milk crates and 5 2x6x8 to bring the deck up to lay cardboard on top of.
|
|
|
|
Put 3" self drilling decking screws down through each side of the trailer rail so the 2x6 won't slide off.
|
|

|
|
Ran a center 2x6 over the milk crates and put some decking screws in those to hold it all from sliding around
|
|
|
|

|
|
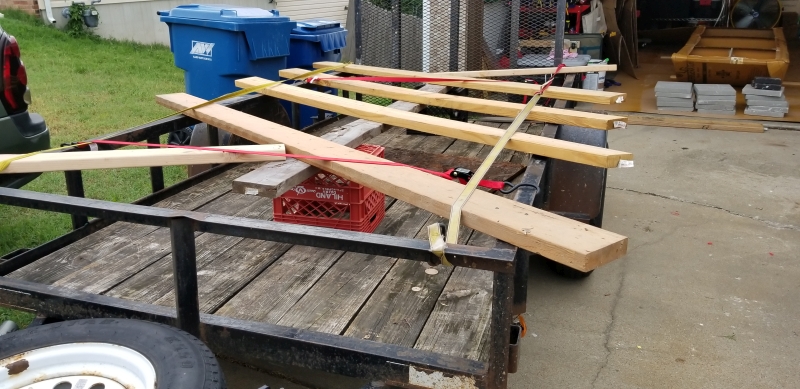
Put webbing straps across both ends and ways to hold this all down.
|
|
|
|
|
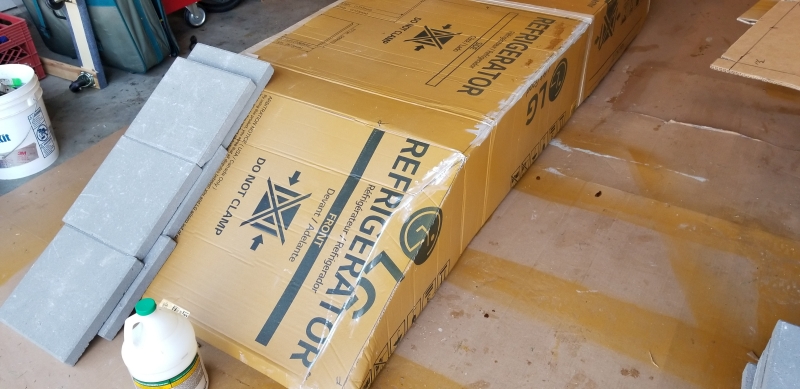
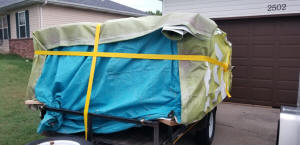
Bulk Cardboard nice Trailer was just right
|
|
|
|
|
|
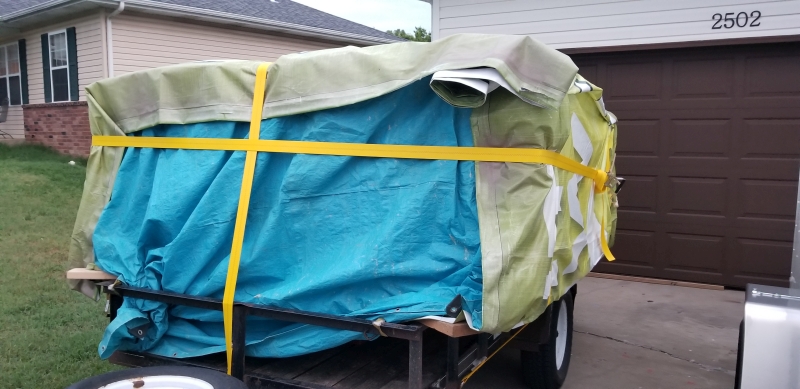
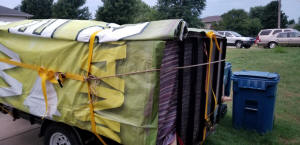
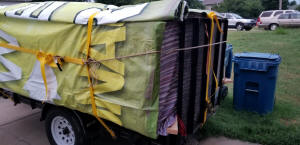
Old Sign Tarps covered it on the rain home.
|
|
|
|
Put a extra tarp on the front 36" of 3 wall cardboard.
|
|
|
|
The old truck is going to be replaced by a NEW Ford. Soon!
|
|
|
|
|
|
|
Rear of Boat gluing down the flaps
|
|

|
|
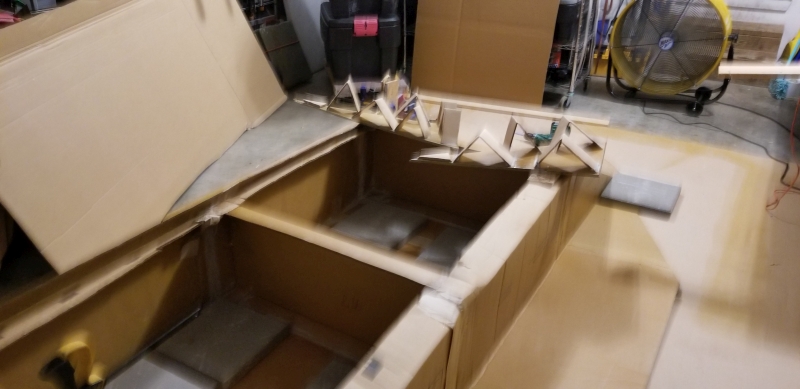
Filled in the space over the ribs
|
|
|
|
Filling in space
|
|
|
|
|
|
|
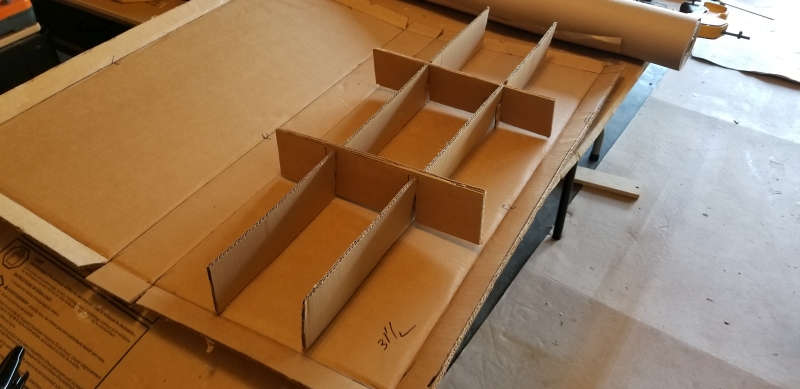
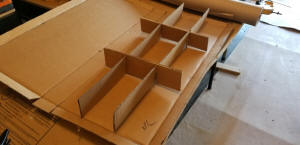
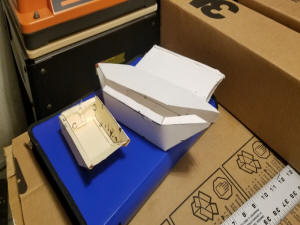
Making Ballast Boxes for Sides
|
|
|
|
7 ballast Boxes in this boat
|
|
|
|
|
|
Getting Fancy on the Ballast Boxes
|
|

|
|
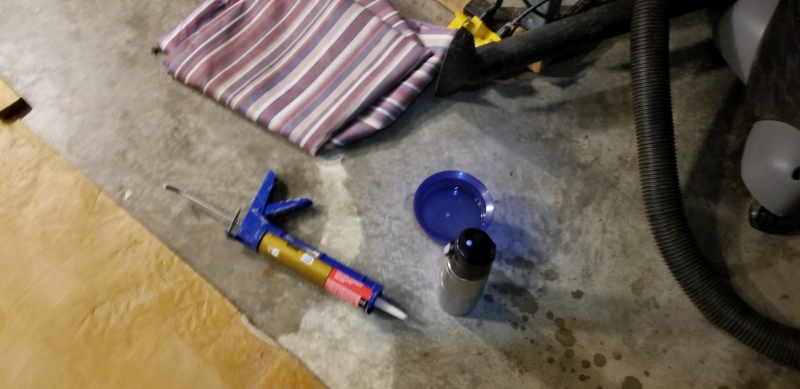
Caulking the exposed ends
|
|

|
|
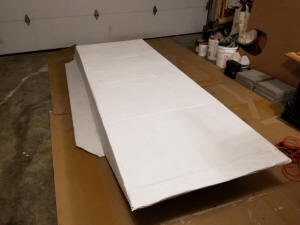
Almost ready for paper
|
|
|
|

|
|
This boat is way over built.
|
|
|
|
|
Ballast Box waiting for paper
|
|
|
|
|
|
|
Always a spot or two that needs more glue and clamping.
|
|
|
|
|
|
|
Brown Contractors Paper goes over the entire boat
|
|
|
|
Start at the Back and over lap by 3" lay weights on paper
|
|
|
|
Protect the paper with cardboard over it then weight
|
|
|
|
|
|
Keep moving the cardboard protectors and weights
|
|
|
|
About 20 minutes with nonthinded glue
|
|
|
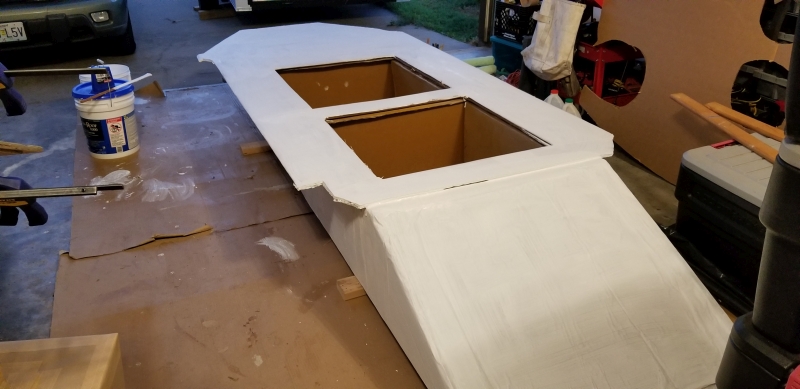
All the brown paper is on and glued now for the Top Deck.
|
|
|
|
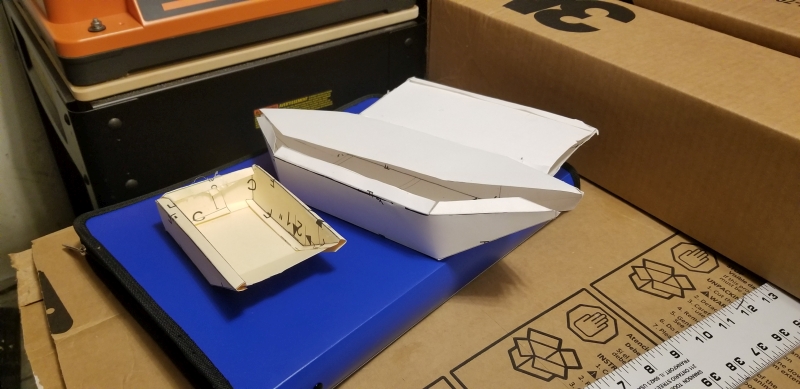
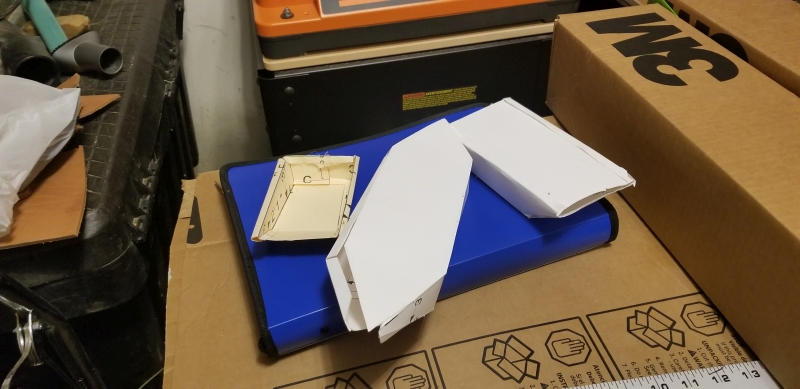
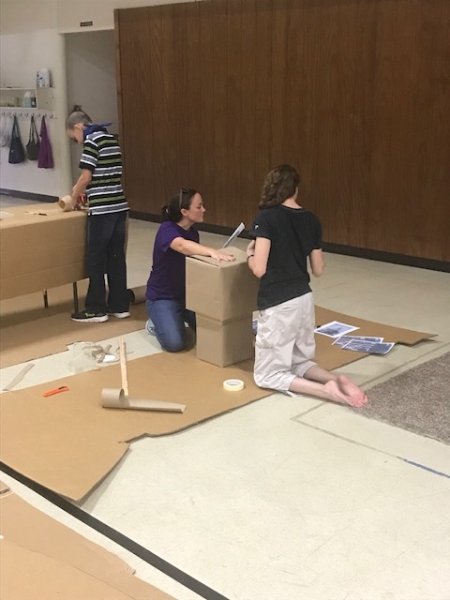
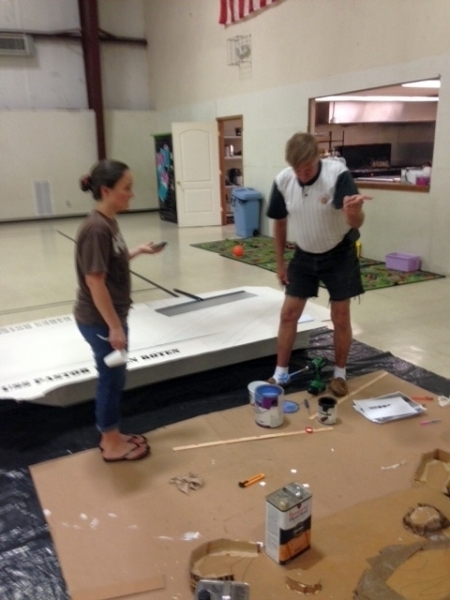
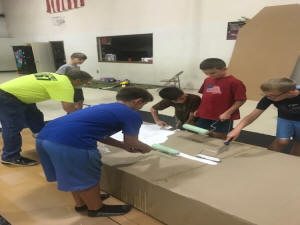
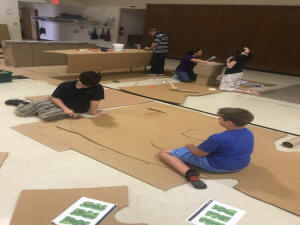
Boys with Leaders Help build model boats
|
|

|
|
Left some parts out so they had to think about it and add some.
|
|
|
|
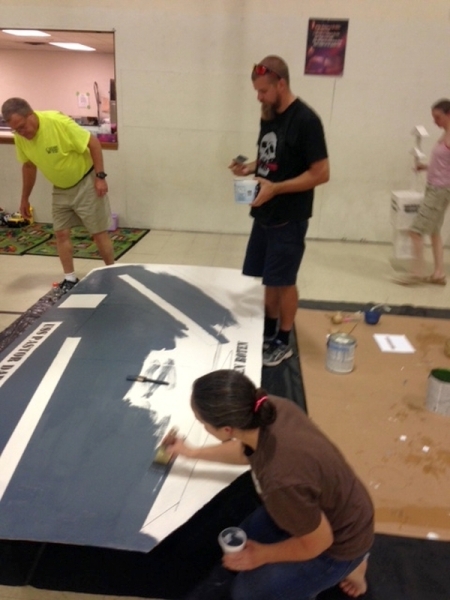
Bottom of "No Sinc" "SS Pastor Daren Roten"
|
|
|
|

|
|
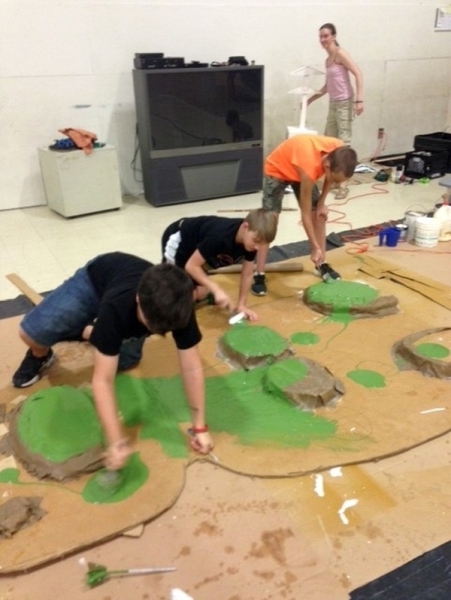
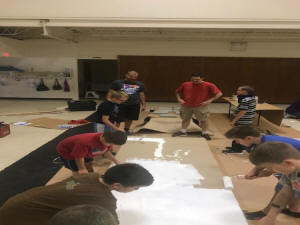
Sunday work day Gummy top in background
|
|
|
|
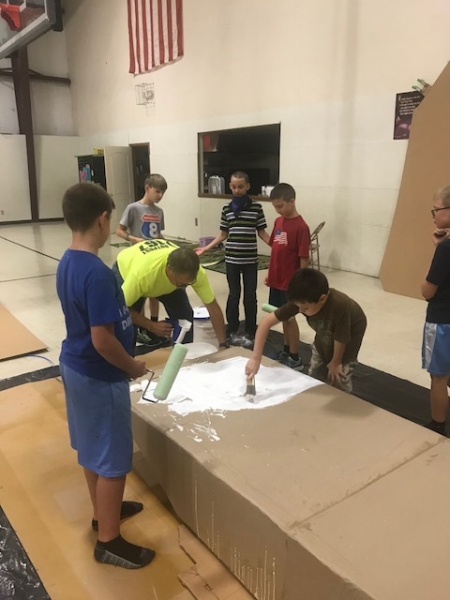
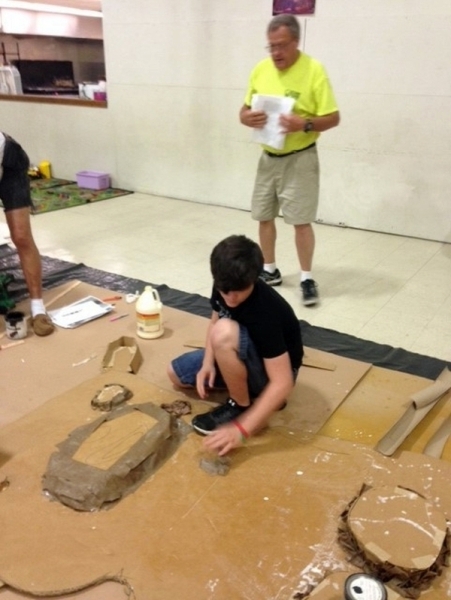
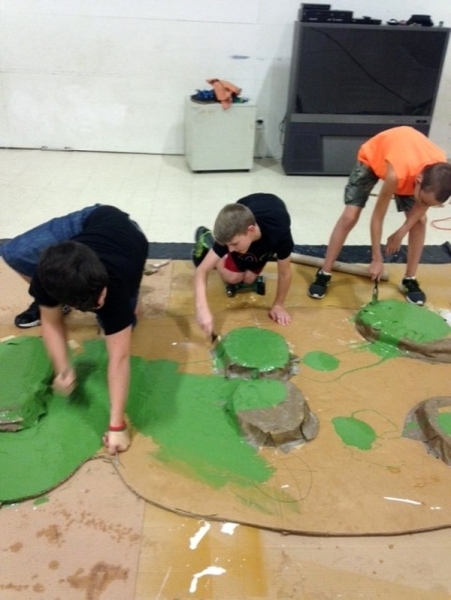
Worked 3 hours in the Gym had 7 boys and 6 leaders helping!
|
|

|
|
I am thinking..I could go crazy right now...GRIN!
|
|
|
|
|
|
Roll from the Sides into the middle
|
|

|
|
Careful Boys this paint is expensive
|
|
|
|
Best build boat I have ever touched. Everything done right!
|
|
|
|

|
|
Paint and Waterproofing Outside of hull
|
|
|
|
Saving Cardboard left overs
|
|
|
|
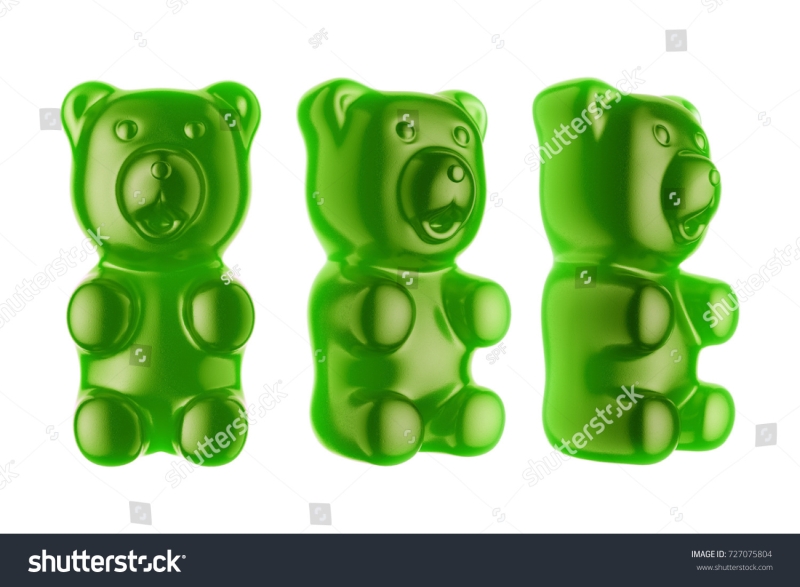
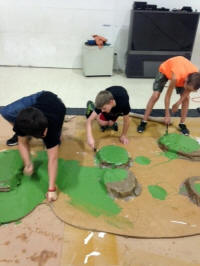
Gummy Boat going 3D
|
|
|
|

|
|
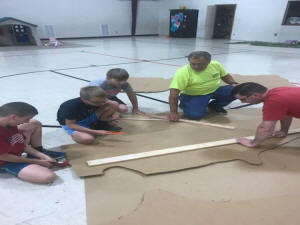
Helpers are Wonderful!
|
|
|
|
|
|
|
Another 2 hours piddling. Painted both boat decks
|
|
|
|
Ready for Painting. Needs to hatch covers first though
|
|
|
|
Council fire floats get painted this time.
|
|
|
|
|
|
2 wraps in waterproof glue and brown paper then painted.
|
|
|
|
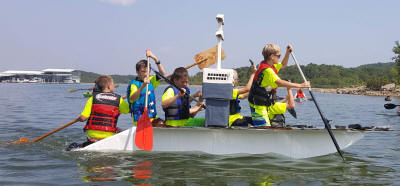
Back end of boat allows boys to climb in from the back when they are in the water.
|
|
|
|
There is 7 ballast boxes in this boat. Paper wrapped and sealed.
|
|
|
|
|
|
Gummy getting top deck glued on with wet paint. (Trial)
|
|
|
|
Gluing a new deck on Gummy
|
|
|
|
crafting is fun.
|
|
|
|
|
|
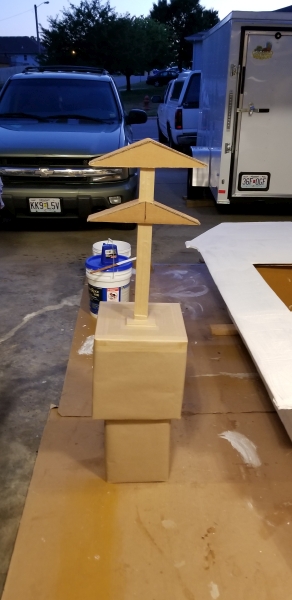
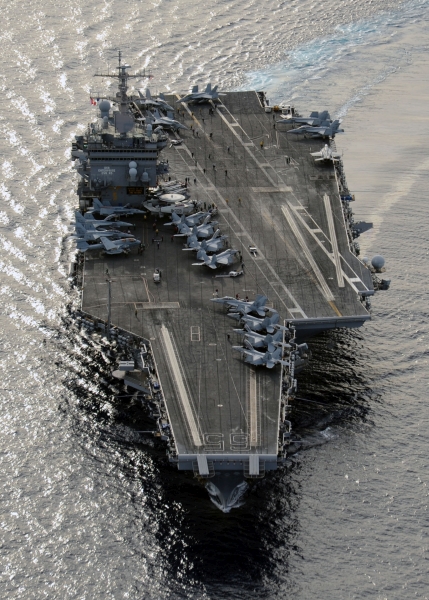
Aircraft Carrier Tower with towers on it.
|
|
|
|
|
|
|
Working on Gummy making him 3D Last Work day before the Regatta.
|
|

|
|
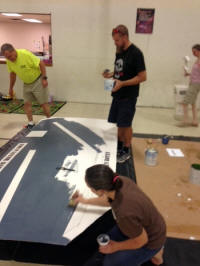
Mixing up gray paint from 2 colors blue and black
|
|
|
|
Um..."looks great"
|
|
|
|

|
|
Rolling on the paint 20 minutes left
|
|
|
|
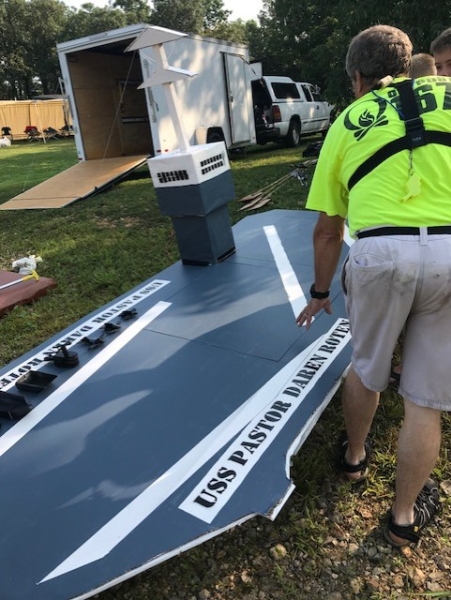
Deck of Aircraft Carrier Best boat I have assembled. I did about 95% of it. Every thing was done to the best it could be done.
|
|
|
|
Gummy all hands on deck...how do the boys get in the boat?
|
|
|
|

|
|
Gummy that gave us ideas!
|
|
|
|
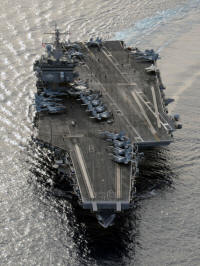
Boat we got ideas from
|
|
|
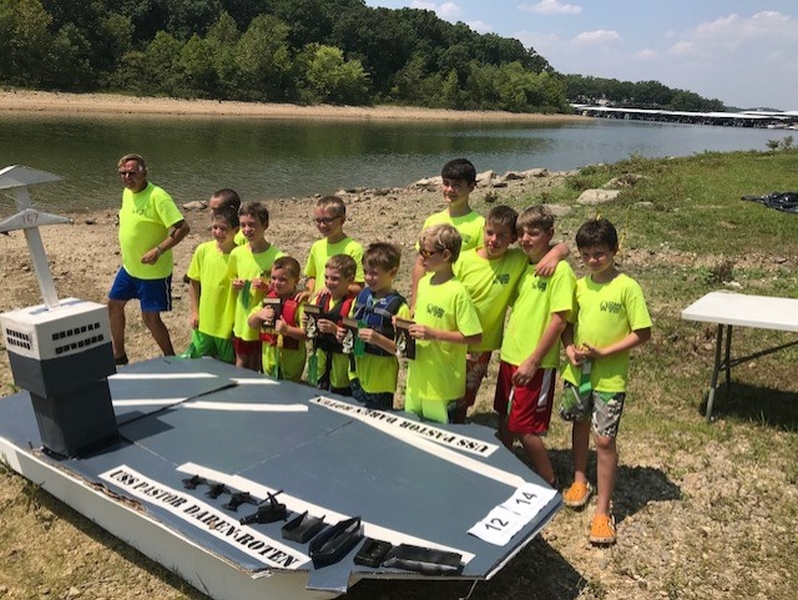
1st place design, speed and teamwork. It's ready for next year as well.
A new paint job of course. The stencil took 1.5 hours to cut out the
letters! The planes and boats were built by the boys. Tower was
built by various folk. I had the below deck parts. This was the best
boat I have ever built. It had all the right tech applied to it.