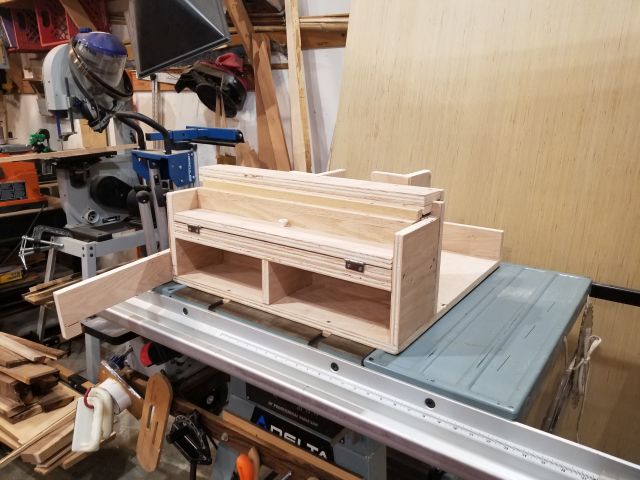
June 3rd 2020 Box Joint Jig. After reviewing 3 weeks of youtube
videos on box joints I decided on this setup. I don't know who the
original idea guy was but the Wood Father had some great ideas and #24 Box Joint
was very good as well. I am so thankful for youtube authors that share the
great ideas they have. This jig is simple and configurable on the fly.
I plan on cutting 10 3/8 thick box sides at a time in a batch mode.
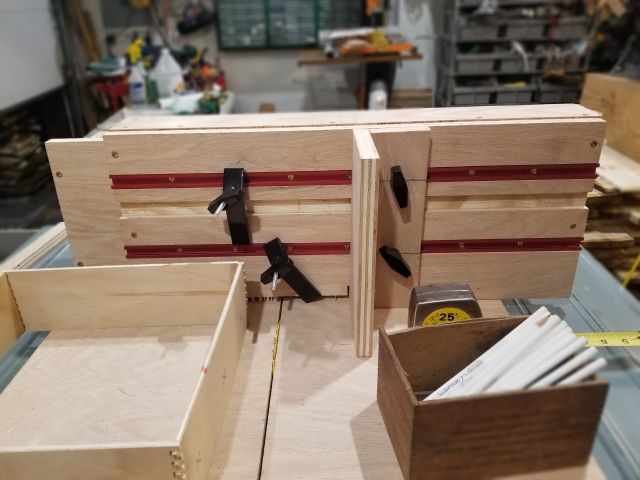
I will use two 90 degree fences on the 2 t slots and sandwich the stock in
between them. One fence will have some T slot clamps on the face
of it to hold the stock in tight. As of now with the one fence I can cut 4
sides at a time. The T slot fence will at sometime have a replaceable waste
bottom put on it or I will trim it up from time to time. I can use a waste
board behind the stock to stop tear out. The t-slot fence is
screwed onto the other fence so when I tighten down the t slot clamps it won't
pull the T slots out of the grove. It's a bit over 1" of plywood instead of
3/8" of plywood.
I was able to sand and clean up this jig and add another fence. The
above link is talking about this update. The following set of pictures is
from the previous 3 days of the build process. This jig works great!
|
|
|
|
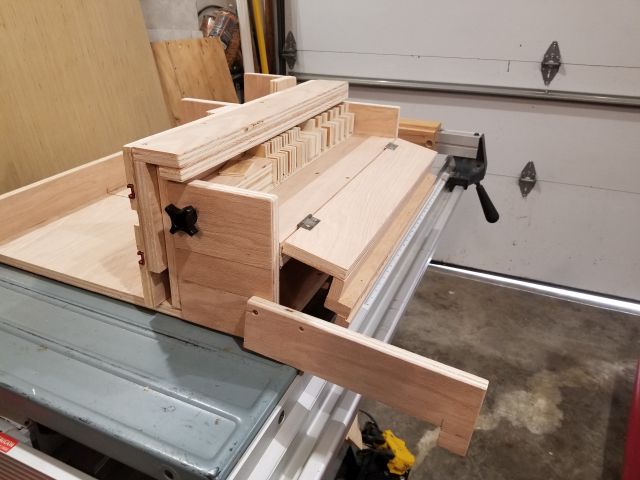
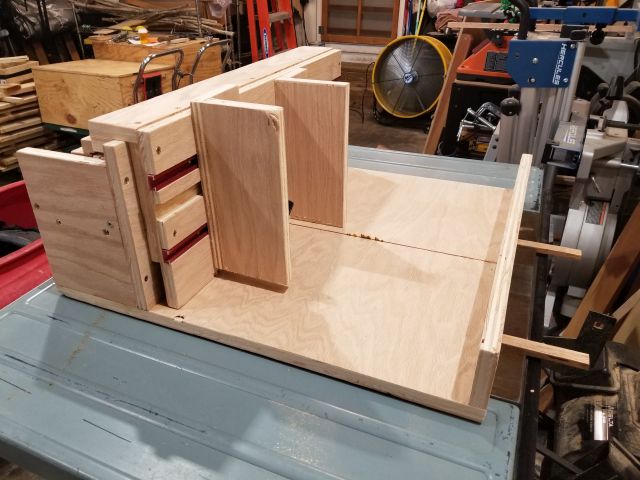
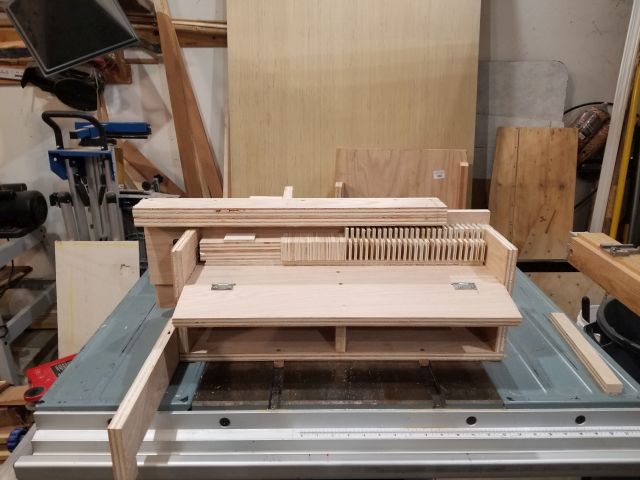
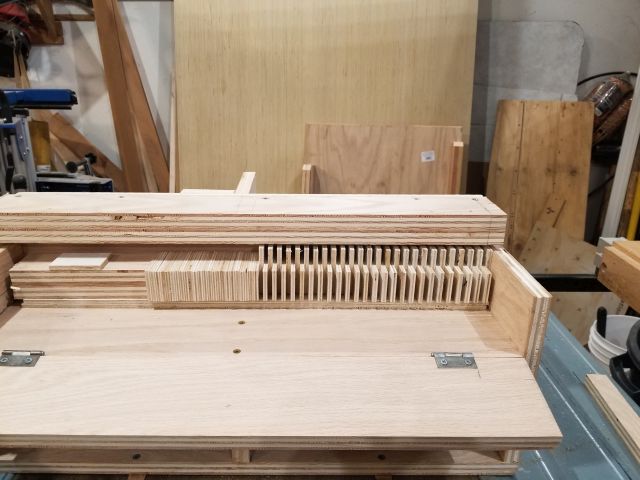
Box Joint Jig
|
|
|
|
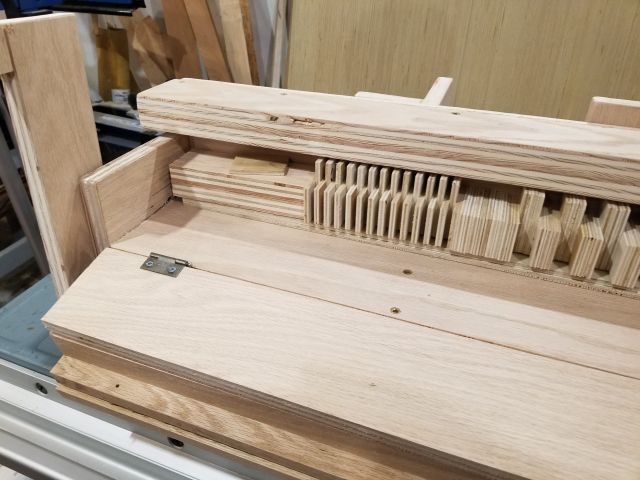
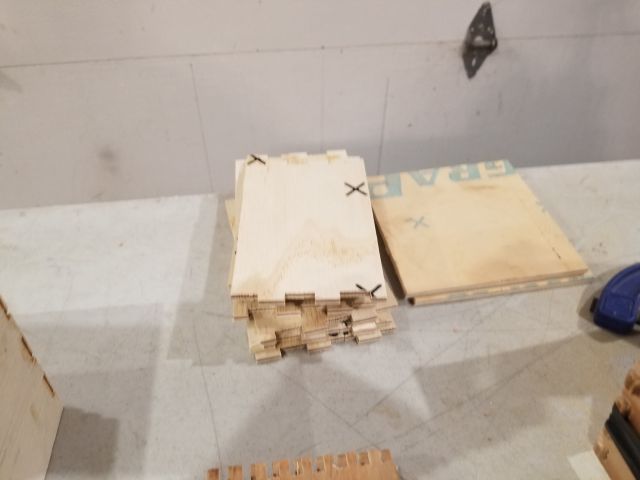
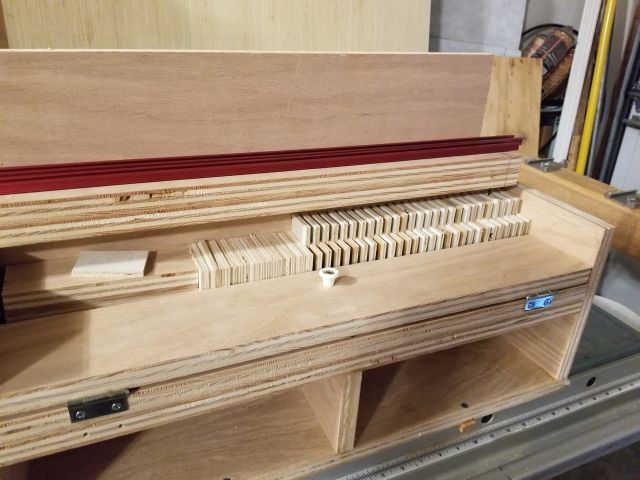
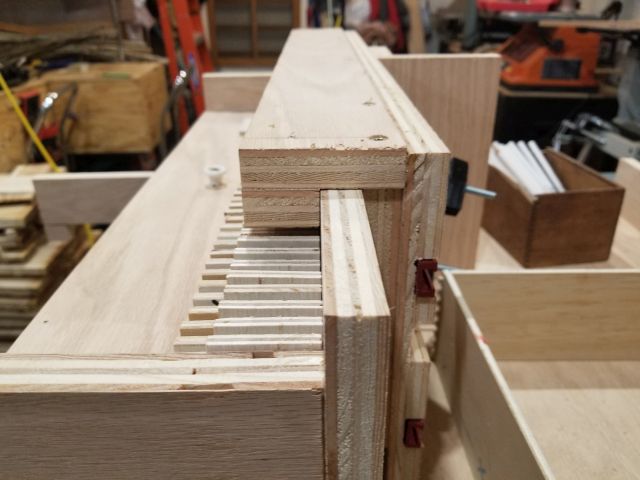
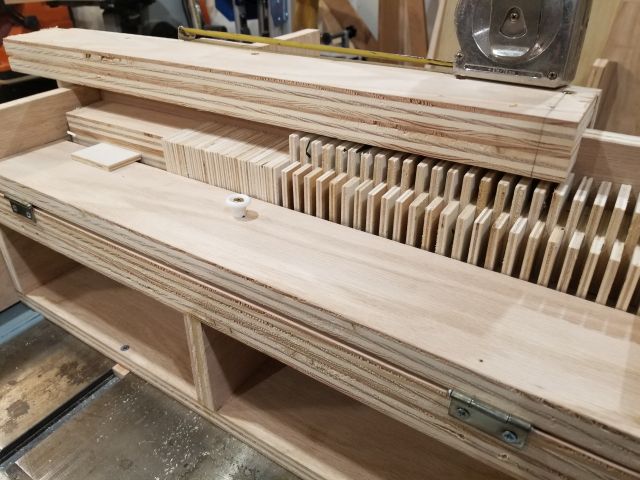
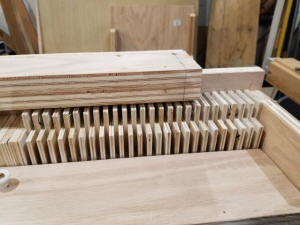
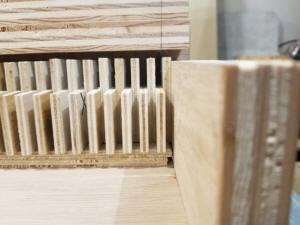
Plywood Fingers 1/4" by 1.5" x 2.25" ReadyBackerHardwood
|
|
|
|
|

|
|
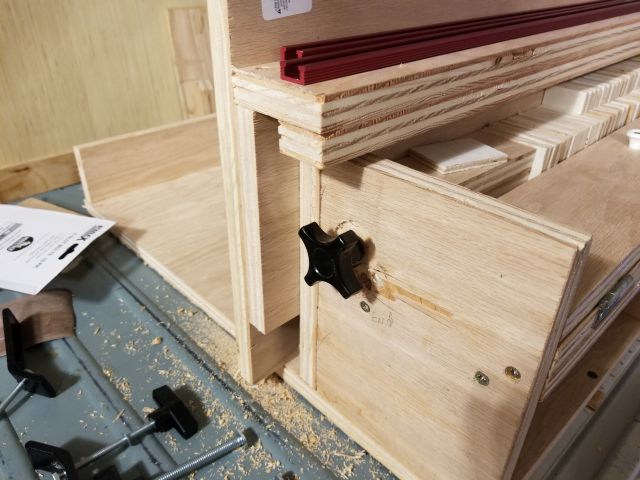
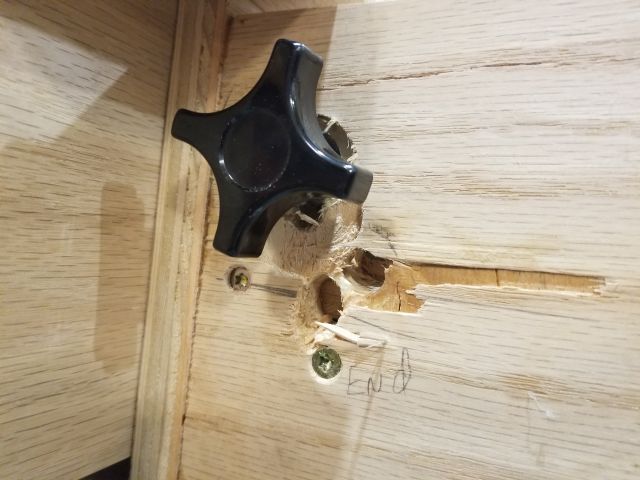
I moved this knob 3 times as my jig fingers were flexing.
|
|
|
|
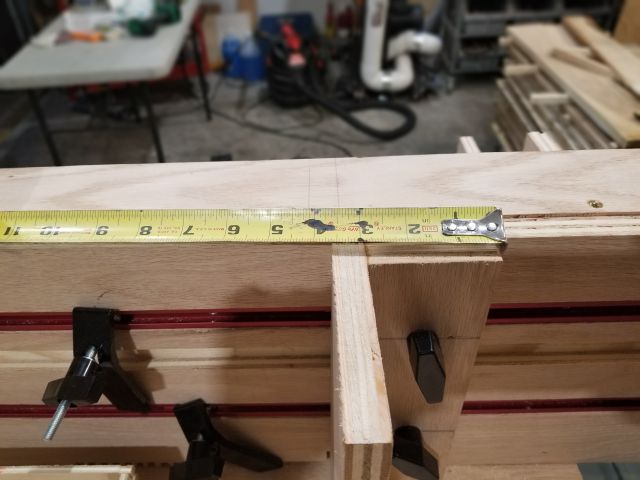
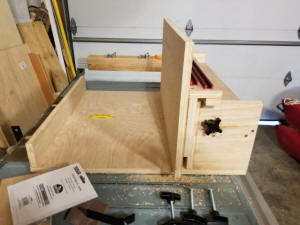
Sizing up the fence for T -Slot tracks
|
|

|
|
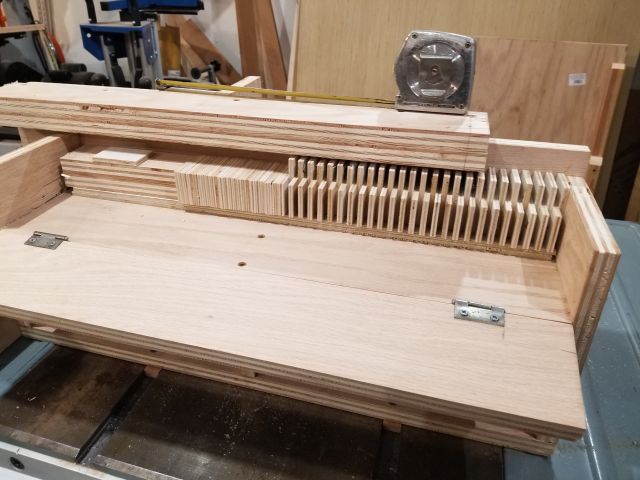
I was thinking weight would be a issue but its not in use.
|
|
|
|
|
|
Shown Tslot clamps
|
|
|
|
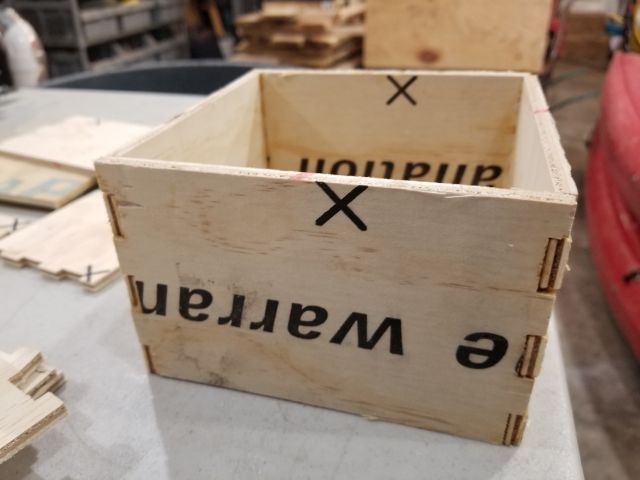
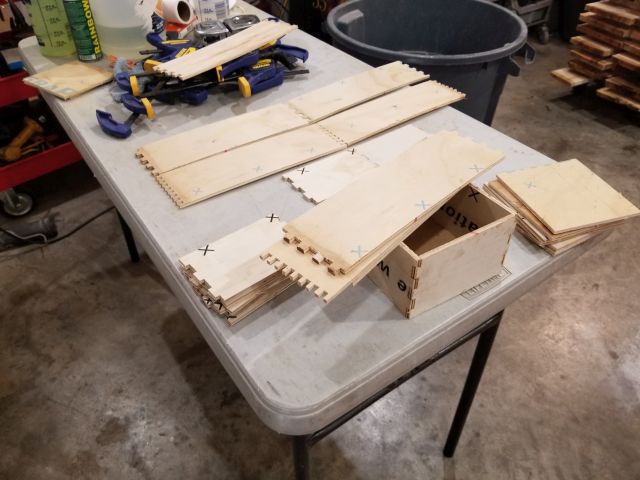
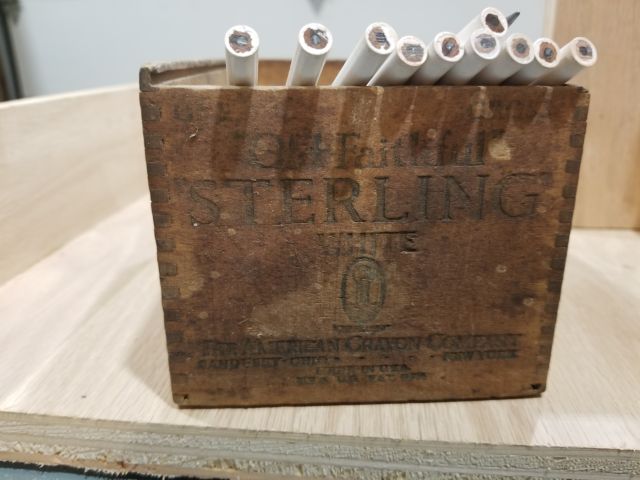
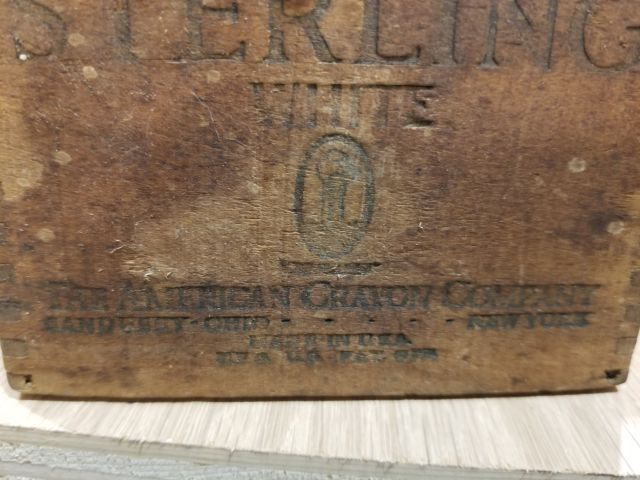
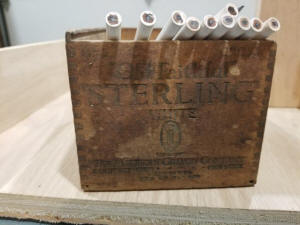
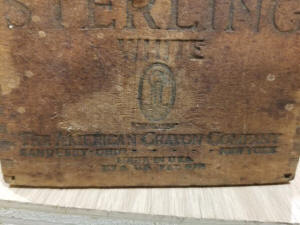
Old Crayon Box I am wanting to make a bunch of these.
|
|
|
|
One other guy on youtube had this box as well.
|
|
|
|
|
|
|
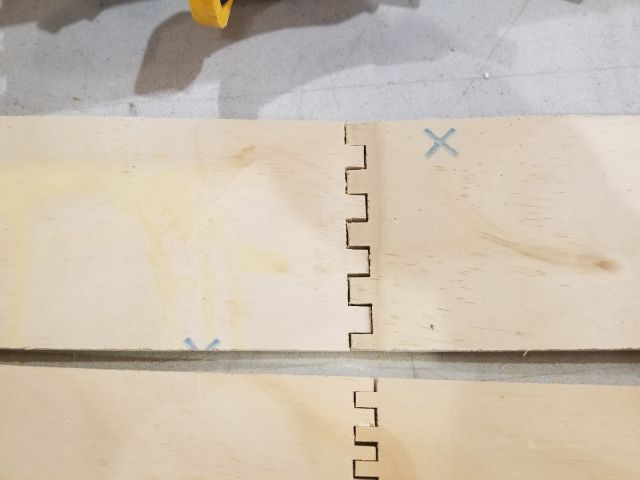
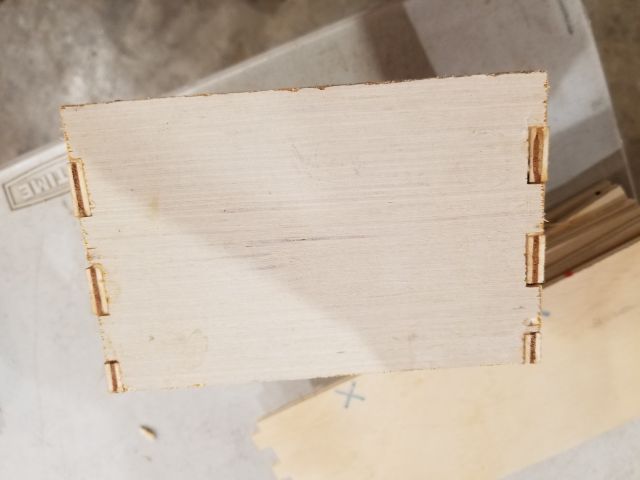
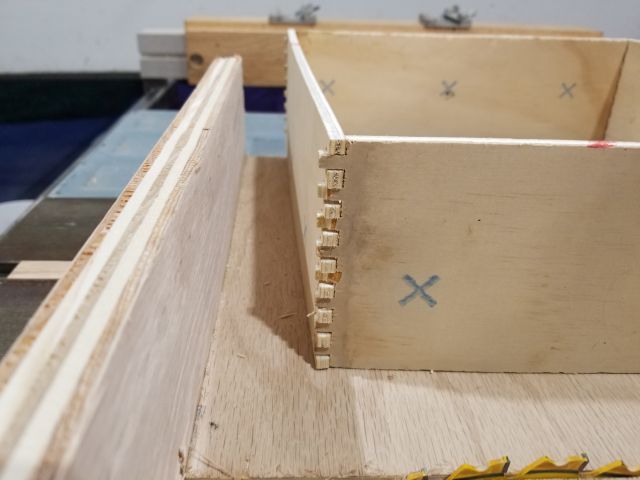
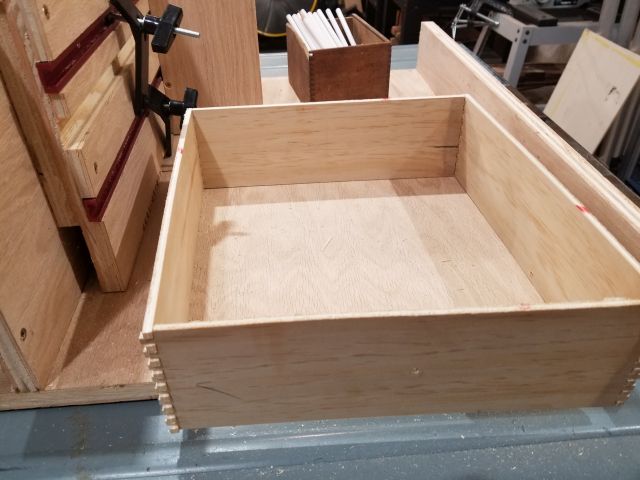
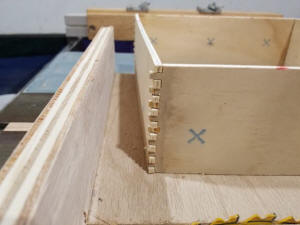
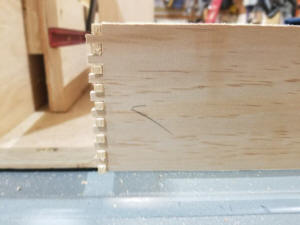
My first box joint cuts
|
|

|
|
I cut them a bit proud but can sand them off.
|
|
|
|
|
|
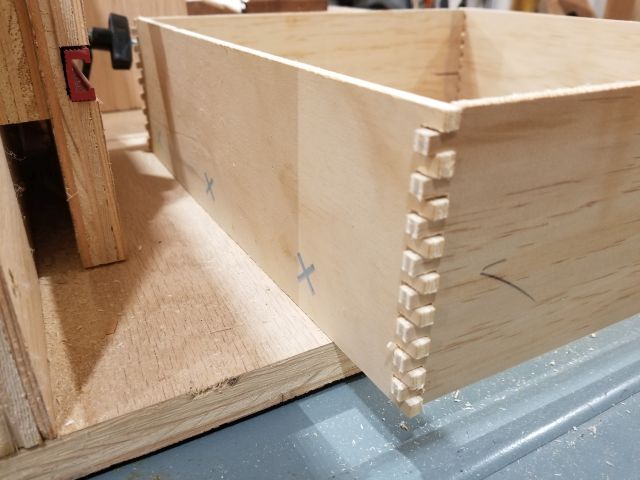
After taking the flex out of the jig fingers it worked perfect.
|
|

|
|
No glue on these yet.
|
|

|
|
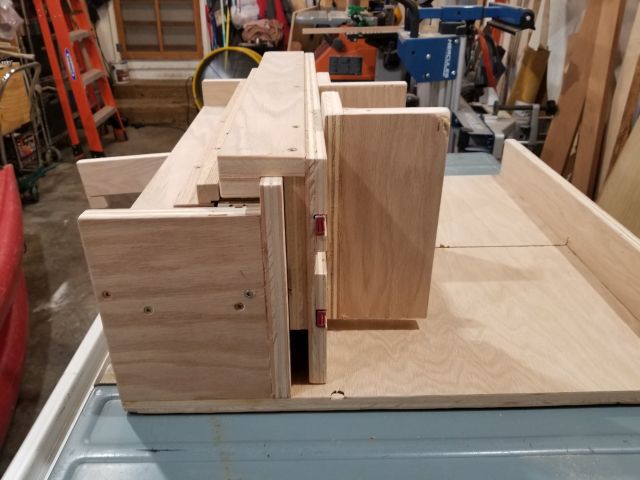
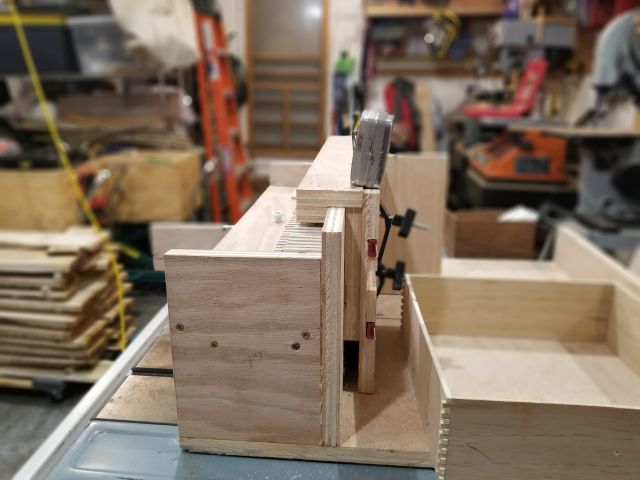
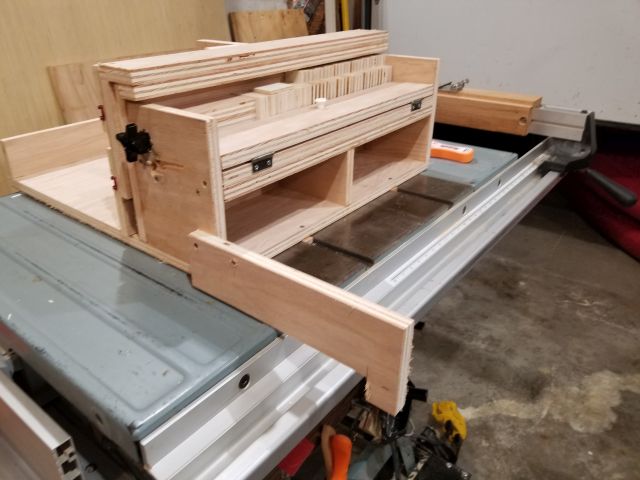
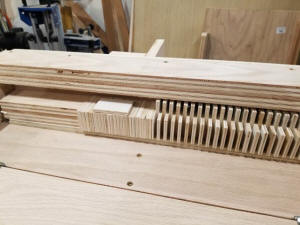
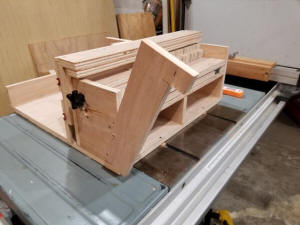
Side view of Jig
|
|
|
|
|
|
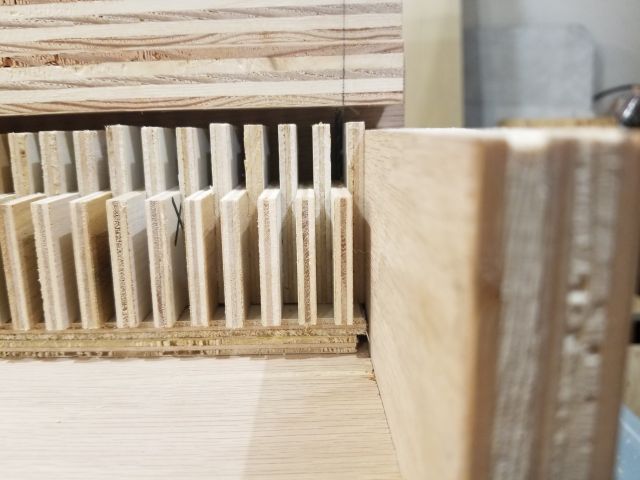
I have one finger out for a quick tool to line stuff up.
|
|
|
|
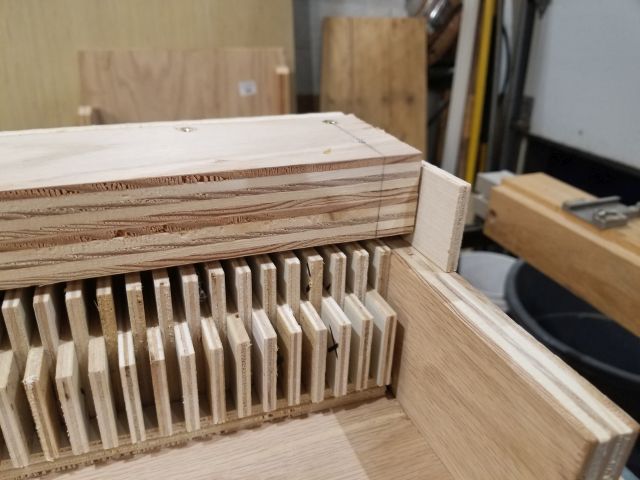
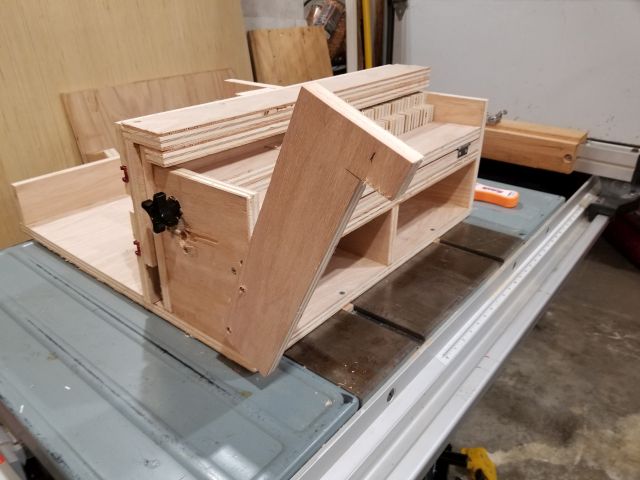
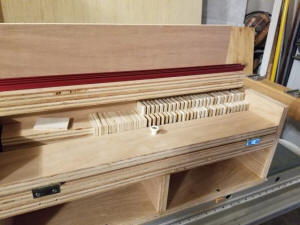
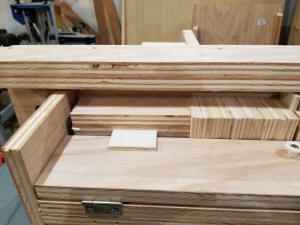
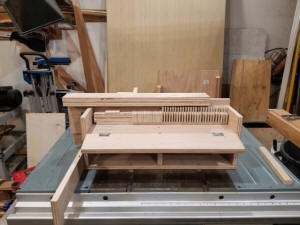
Piano Lid will get one more board added to lock the fingers down as well as in.
|
|
|
|
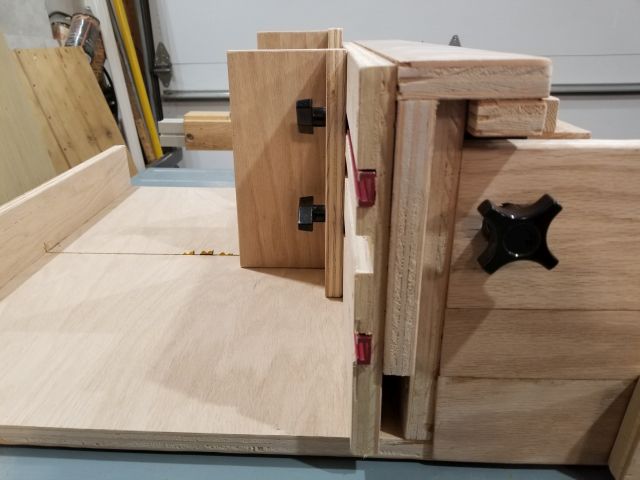
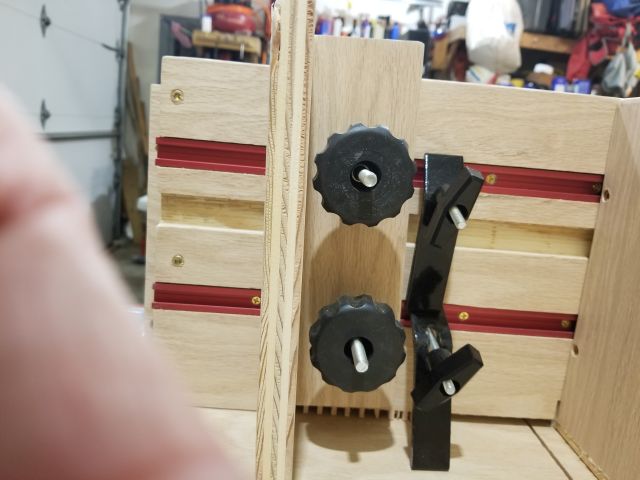
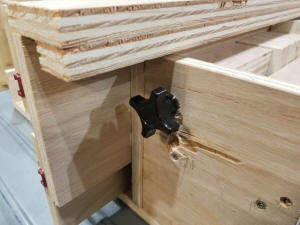
T-nut. I moved this 3 times. HA!
|
|
|
|
|
|
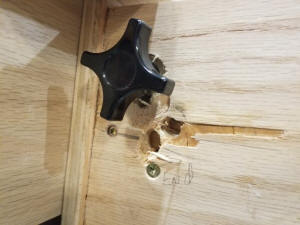
I will clean this up with some vineer and putty.
|
|
|
|
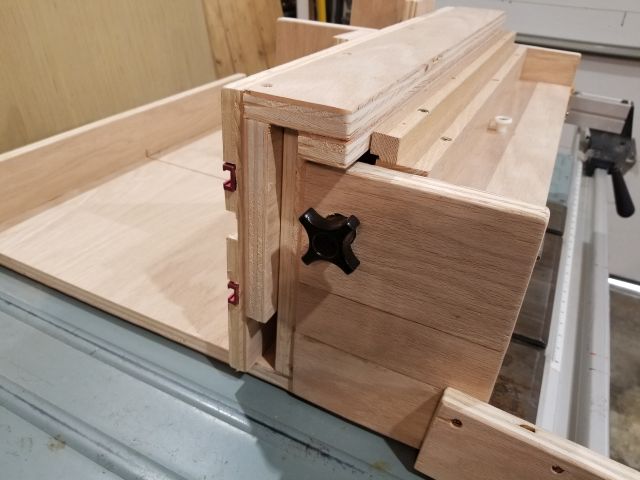
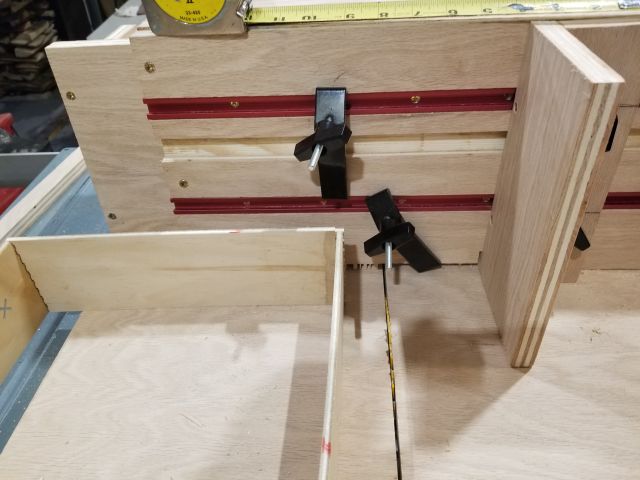
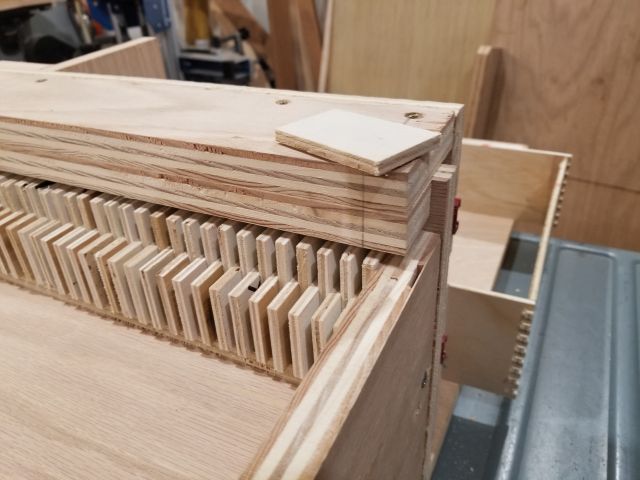
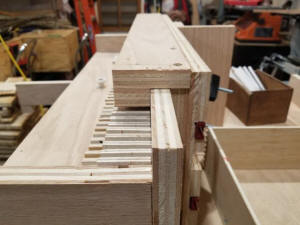
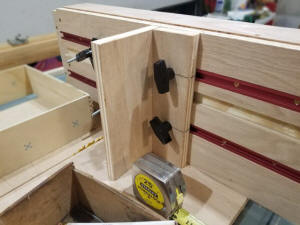
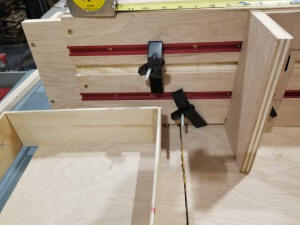
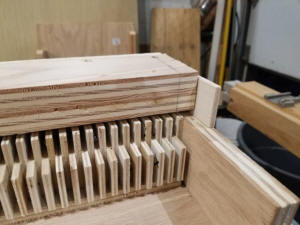
Fence with tslots installed will have 2 90 degree fences for batch work.
|
|

|
|
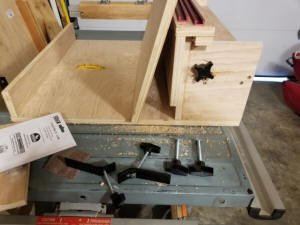
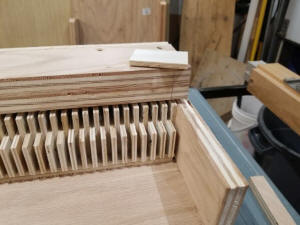
Shows the stop board out on the lower left.
|
|
|
|
|
|
|
I will make one more of these 90 degree fences for other side of boards I am cutting.
|
|
|
|
T slots didn't have holes in them. I had to drill them and counter sink the holes before I installed them.
|
|
|
|
|
|
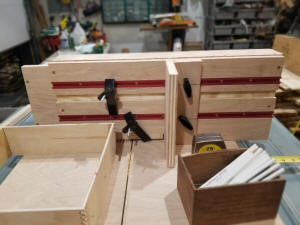
These tslot clamps held very well for 2 pieces at a time.
|
|
|
|
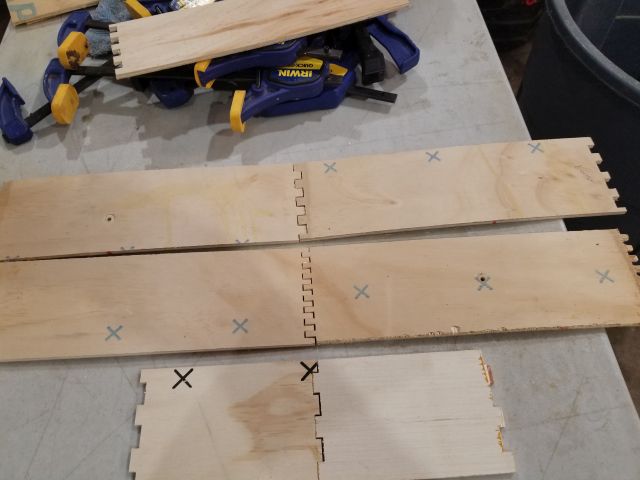
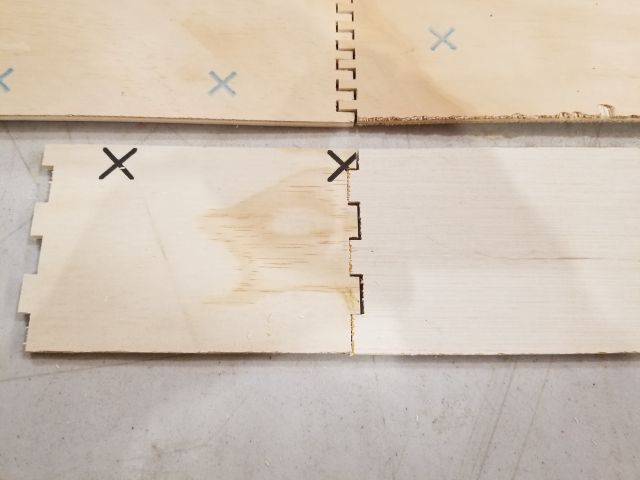
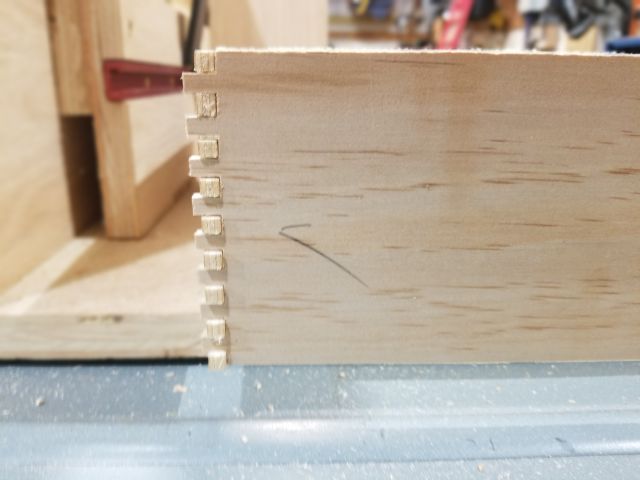
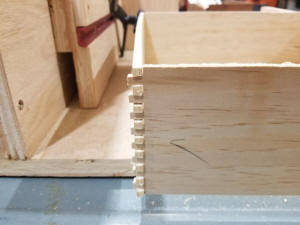
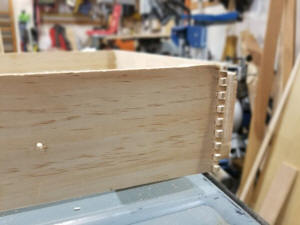
My first box cut with this jig.
|
|
|
|
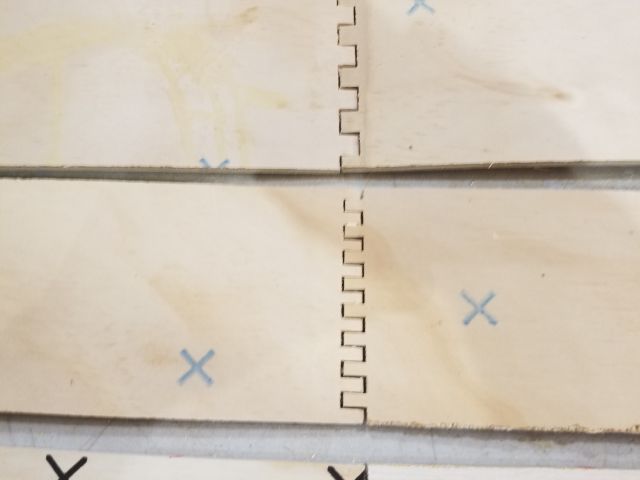
With glue these are tight enough. I can change out the drill bit with something a couple thousands bigger and It would be perfect and tight.
|
|
|
|
|
|
Was very pleased this thing worked perfect once I got the flex out of the jig fingers.
|
|
|
|
Will remove these hold down fingers for batch work and use another 90 degree fence
|
|

|
|
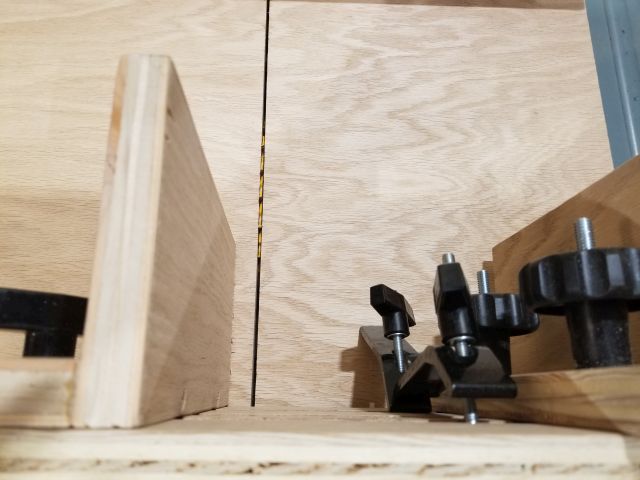
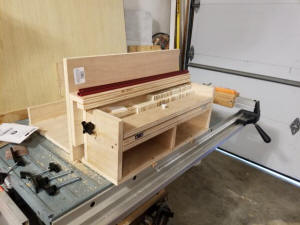
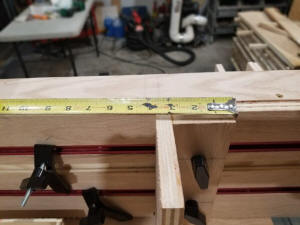
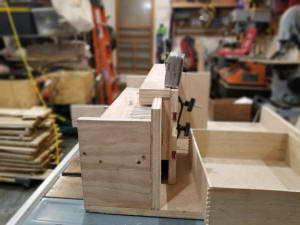
Jig shown with the fence down about 4" after cutting the box joints.
|
|
|
|
|
|
|
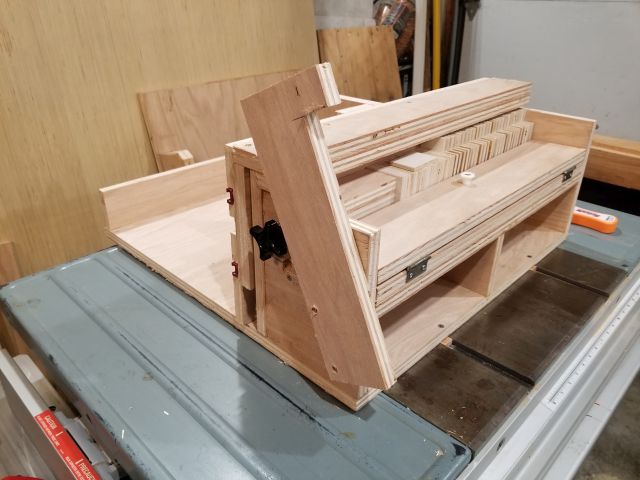
Piano hinge locks in the fingers.
|
|
|
|
|
|
|
The drill bit pin that is just 0004 mill less than the saw blade is inbetween the first jig finger the side.
|
|
|
|
Jig finger I placed on the top edge to show it's moved in one finger on the second set. This finger is just for show it's not doing anything.
|
|
|
|
When I set this up for the first set of boards The fence is all flush with the side of the jig. In this case it's moved over one finger.
|
|
|
|

|
|
Another shot of the fence being over 1 finger
|
|
|
|
I can cut 1/4" or any combination of 1/4" box joints. 2" box joints no problem just rearrange the fingers.
|
|
|
|
|
|
|
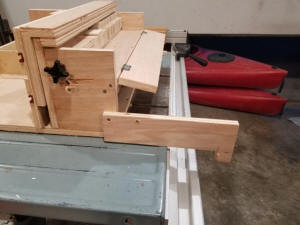
Slide stopper. It's simple and quick and it swings up.
|
|
|

|
|
Stopper bloxk swung up out of the way.
|
|
|
|
|
|
|
Stopper block swinging out of the way.
|
|

|
|
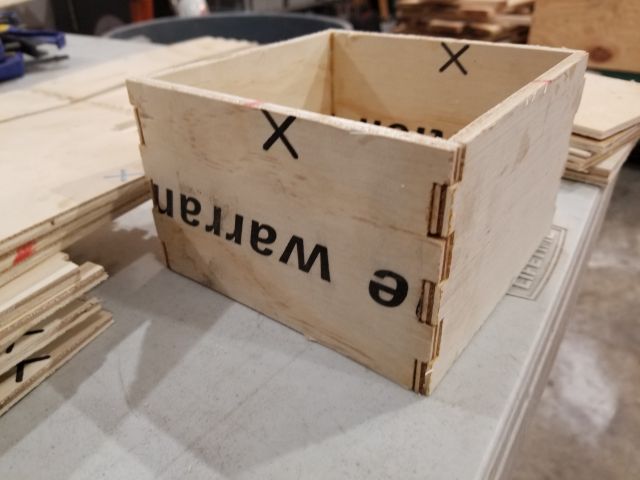
Nice jig. I can't wait to cut some oak and make the box joints. I have some 3/8 red oak all ready!
|
|
|