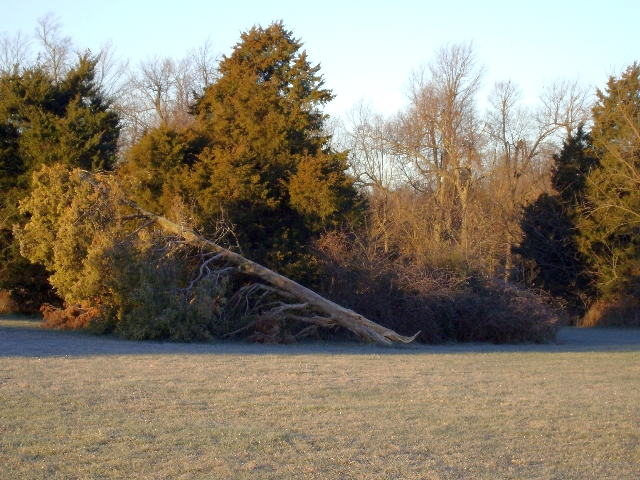
The Rangers at Central took a Timber trip to Sand Stone Ridge by Marionville,
Mo. It was a Sunday between Church services outing.
Commander brought 10 cans of ravioli and we cooked them over a fire each boy built from native wood found on site. After lunch we put on the gloves and cut down 5 cedar trees that were damaged by previous ice storms. Some trees were dead others were alive. Most were uprooted and had fallen over. We cut the trees down. Delimbed the trunks and then cut the trees into 26" long logs. Commander Jones operated the chainsaw with the new blade on it. Boys and young men carried the logs back to the Ranger Trailer.
About 4:30 we loaded up the logs into the Ranger Trailer and then headed back to Springfield. Lunch at McDonalds is always a hit with most Ranger boys.
Back to the Ranger Annex we unloaded the logs and swept out the trailer. Then had our normal Ranger meeting.
2 weeks later Commander Jones brought in his Delta bandsaw and cut a log. It was crooked as a snake. Commander Jones then ordered three 1/2" resawing blades. One week later the blades came in and one was put on the saw. Now that we could cut a straight line with the wider blade the log sawing was on. Commander Jones built a resaw sled for the saw and a extended table. The boys took turns resawing the logs into 1" boards using a board as a jig marker board. It was all done freehand. The resaw sled didn't work because the Bandsaws 1/2 horse motor wouldn't pull the load. It wasn't long before the motor had to be replaced with a 1hp motor. Bearings had frozen and the little things that matter had to be addressed. Video on youtube resaw video link.
It took 2 weeks for the boys to saw up the logs with Commander Jones doing some on his lunch hours and after work. Here is a video on that.
Boys sawing logs into lumber video link.
This video is a summary of the resawing we did and some things I learned. Learning curve what I learned in this process video link.
The boys then took this plan and cut their boxes from the board we planned down to 1/2" Some of the boards we left at 3/4" for a FCF candle lantern were making after the first of the year.
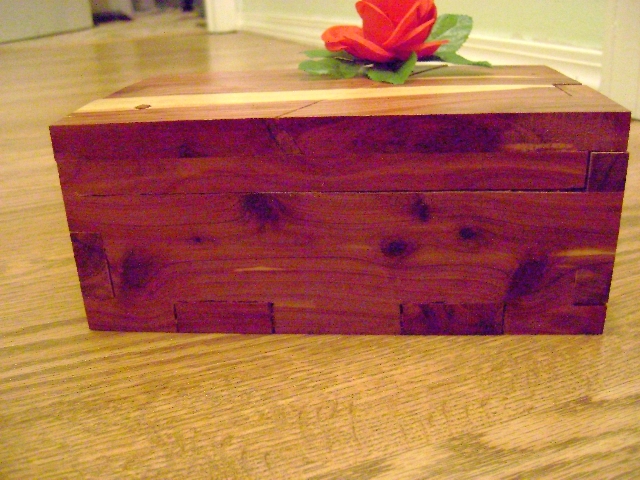
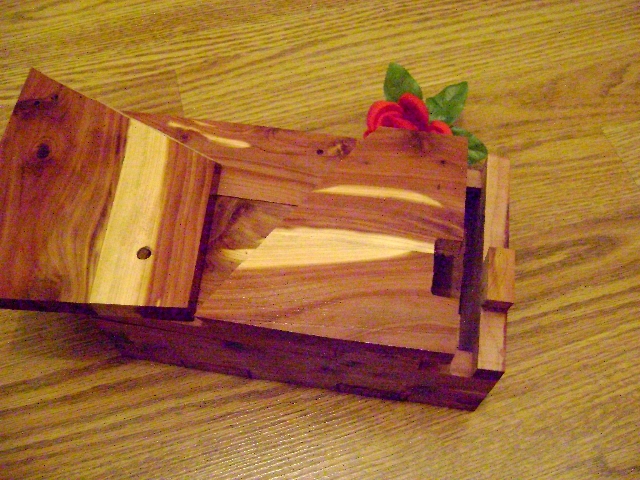
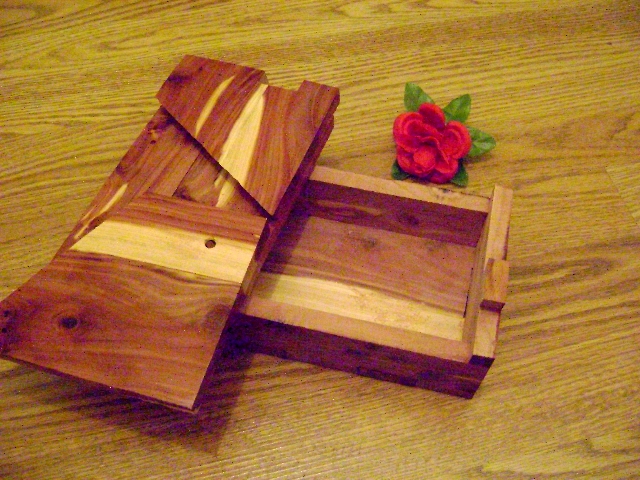
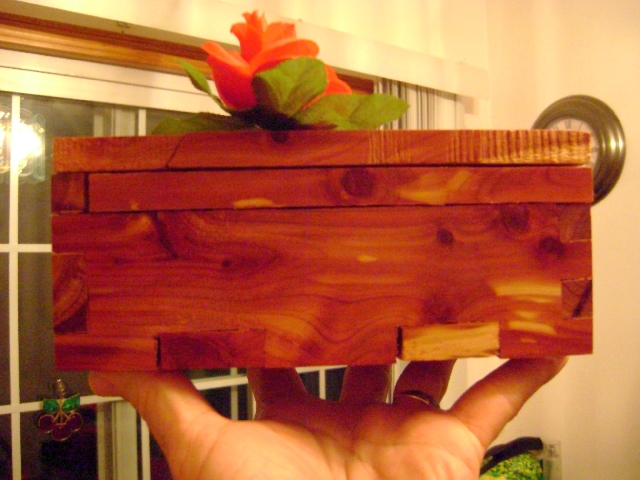
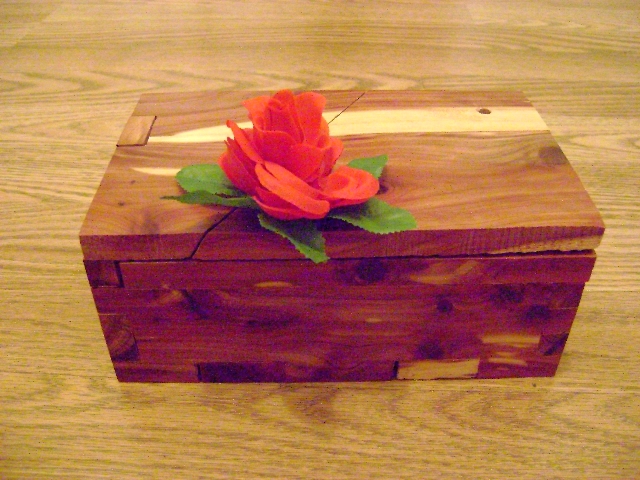
Unibox a Christmas Gift for Mom!
We ended up making 14 uniboxes with 2 I think still in the works. The boys used spay on contact cement (use cheap kind as the good 3m stuff stuck and we had to sand off the paper). They
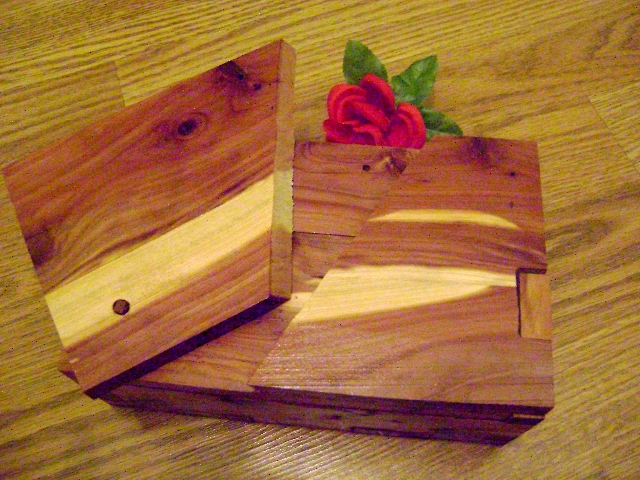
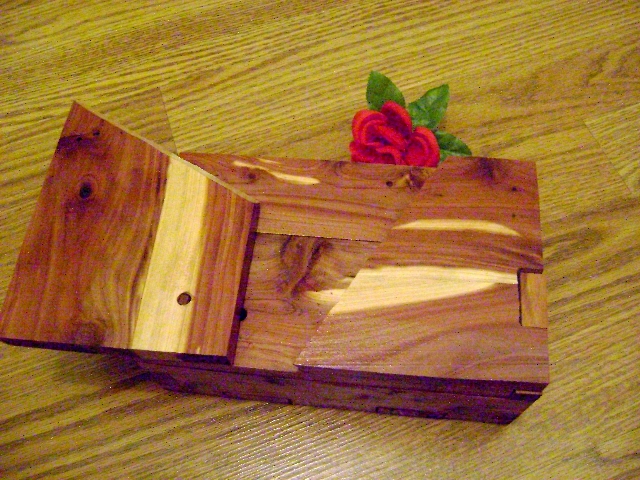
stuck them to the boards then cut them out. After dry assembling the box. They glued the pieces up. Note that 2 boxes got put together backwards and we had to customize them a bit..so dry assemble them. Don't have the boys sand the outsides of the box. Only the inside faces it makes it easier to reassemble. Put on about 6 trigger action clamps and let it dry for about 30 minutes. While it is drying they glued in the 3 little blocks and the glued the two top pieces together.. Then after its' all glued up. Cut the short dowel and put the box together I used a smaller finish nail in the other little hole to help keep the box in alignment while machine sanding and with the box fully assembled I then drilled the dowel hole by lifting the box up into a 1/4" bit in a drill press drilling the top board, next board and the 3 little square boards all in one operation making alignment easy. Then drilled the 2nd from the top boards notch out by drillling 6 holes and using a cutting drill bit to make the slot.
Ran the whole box on the table sander 80 grit then finished up with 120 grit and then sanded the sharp edges off the box.
Boys sprayed 3 coats of clear enamel in about 30 minutes and let it dry. Boys need about 4 hours to make the unibox. I can make one in about 2 hours with 3 coats of finish on it.
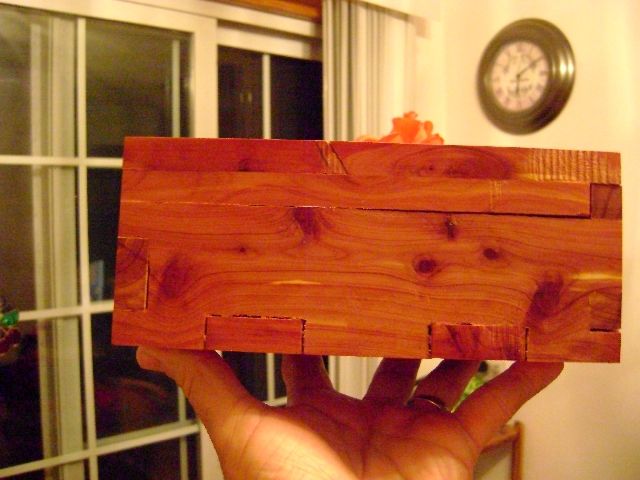
It's a great project. One could do this with some red oak from Lowe's hardwood lumber getting 1/2" stock and 2 boards 2 feet long by 8" wide. Our Cedar board had a lot of soft spots, knots and some cracks that gave us a lot of scraps. When a piece breaks off glue it back on and clamp it. Good as new. I found the top dovetail notch needed a brad with glue it it to reinforce it. The Cedar splits and cracks easy so small pieces need a little reinforcement. I drilled the nail hole and then put glue on the brad and it slide into place and I tapped it just below the surface.
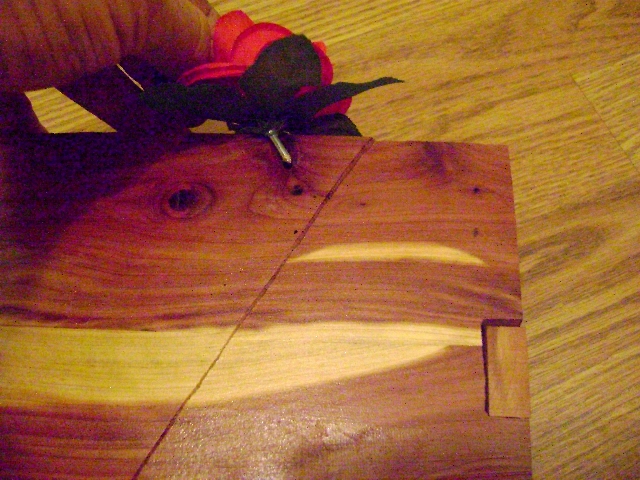
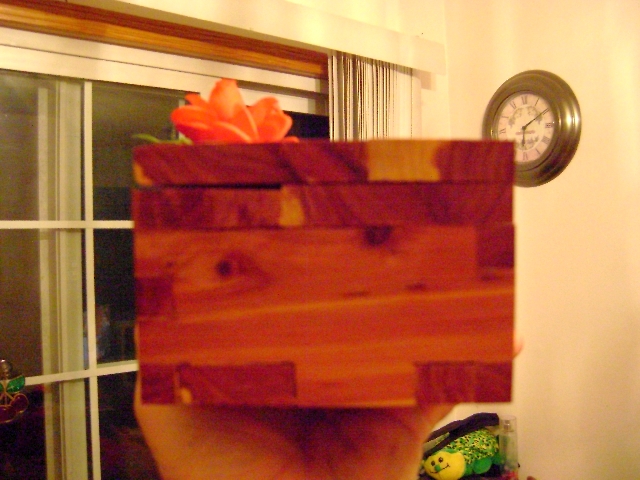
Walmart had a dozen roses all made out of plastic and material and I cut the stems down to about 4" long and then took a knife and cut the green plastic stem off the wire inside the stim and put it in the hole where the little nail goes into. Made a great present.
These projects don't come cheap. Things add up quick. God has blessed me and I am grateful.
41.00 bandsaw blades
150.00 bandsaw motor
14.00 Stickers for air drying the lumber 2packs of 6 3/4 x 2x 8' long
7.00 for 3 bottles of glue
10.00 for 2 cans of spray enamel.
3.00 for 2 oak dowels.
2.00 for finish nails.
15.00 for 3 sanding belts.
40.00 for Trac bolts for resaw table.
2.00 for metric bolts for bandsaw table.
10.00 for ravioli.
12.00 for a chainsaw blade
6.00 for 2 dozen roses.
25.00 for gas for truck
44.00 for 2 sets of 4 clamps
30 hours of time.
Not many can say they went out and cut down a tree turned it into wood then cut it out and built a treasured box out of it and gave it to someone special to them.
The good Lord blesses. He owns it all. We are all blessed many times over for every dollar we spend in Rangers. This is a great project for Adventure Ranger Boys and older.
Mark Jones
Click on a picture for a larger view. This was the first box. My son made it for his Girl Friend. He added the rose idea and we used it on the rest of the 15 boxes. A treasured keepsake.
Every step of the way Rangers had a hand in it. Whom ever made up the design did good. This was a quick and easy project.